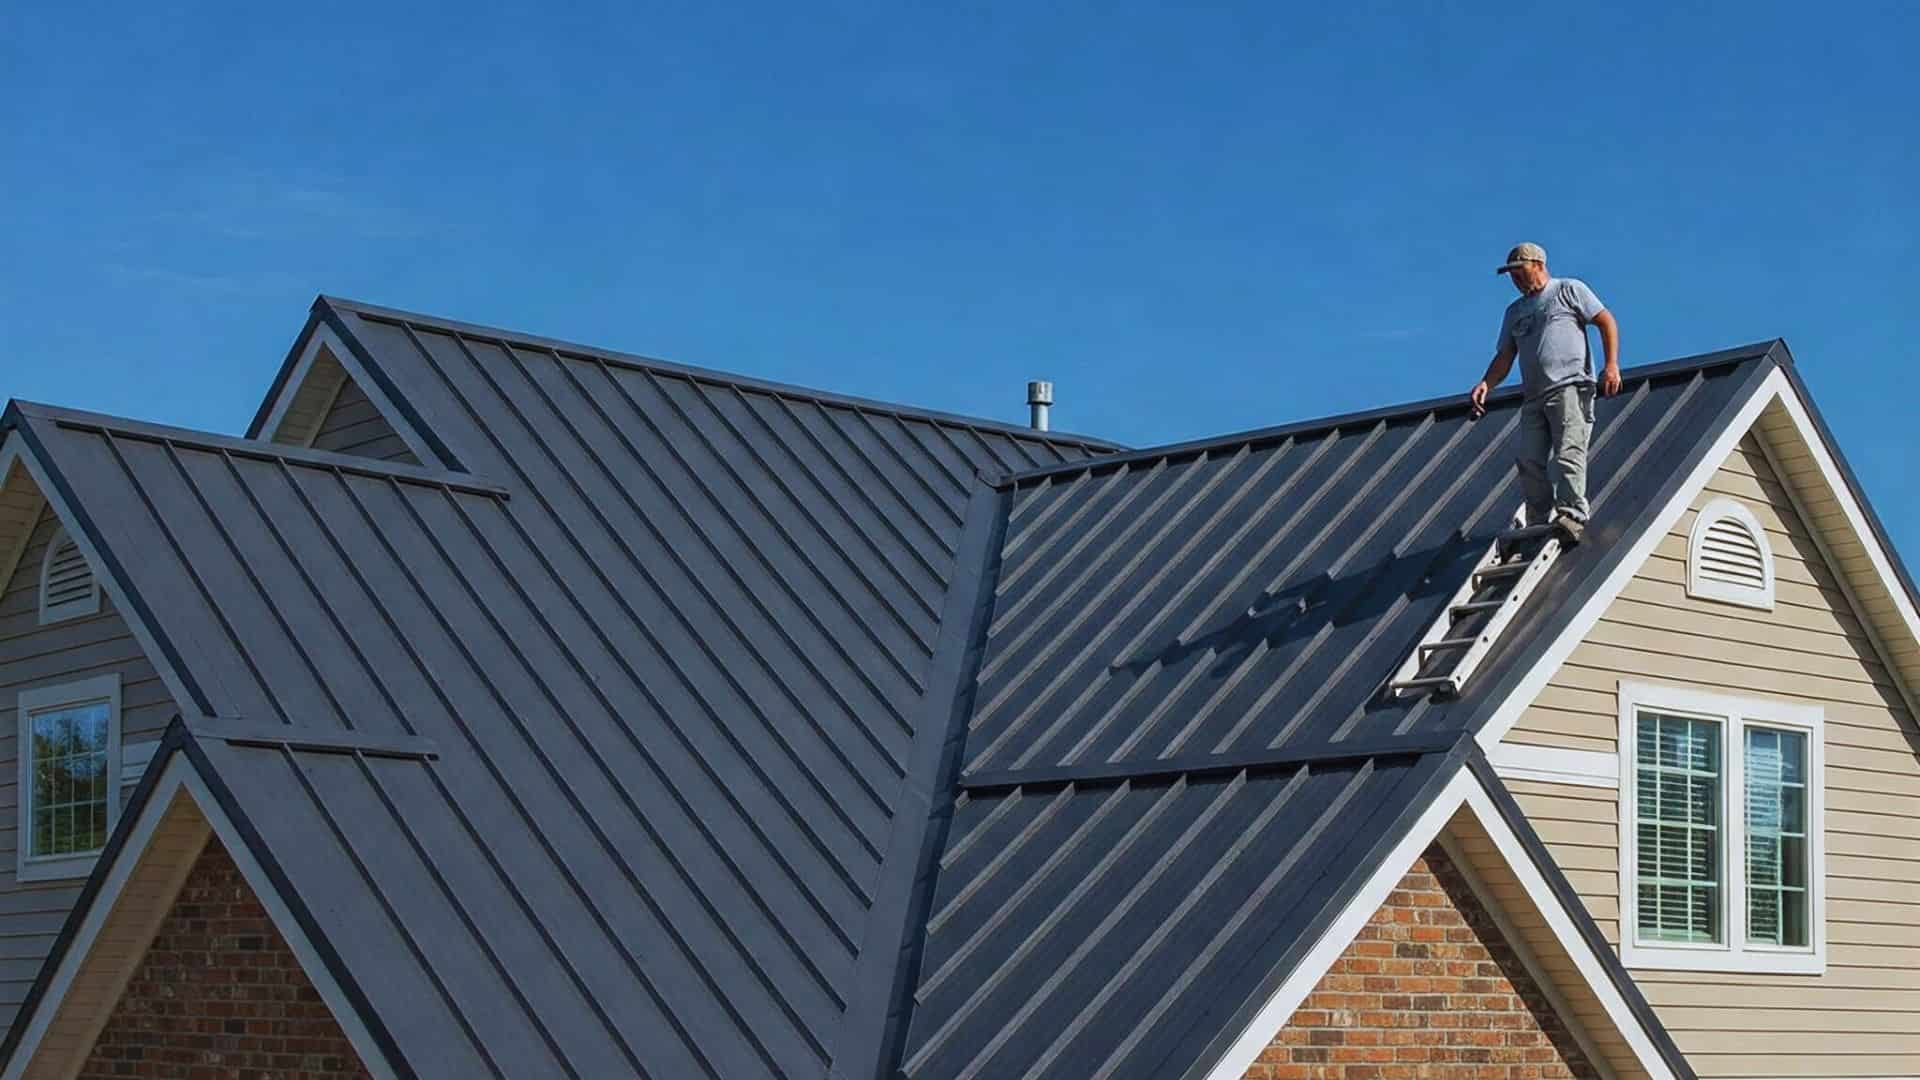
Many homeowners look at their roof and wonder whether its angle is right for their home, climate, or roofing material. Roof angles may look simple, but they play a major role in drainage, durability, and long-term costs. Confusion often starts when terms like pitch, slope, and ratios are used interchangeably, leaving people unsure about what truly matters.
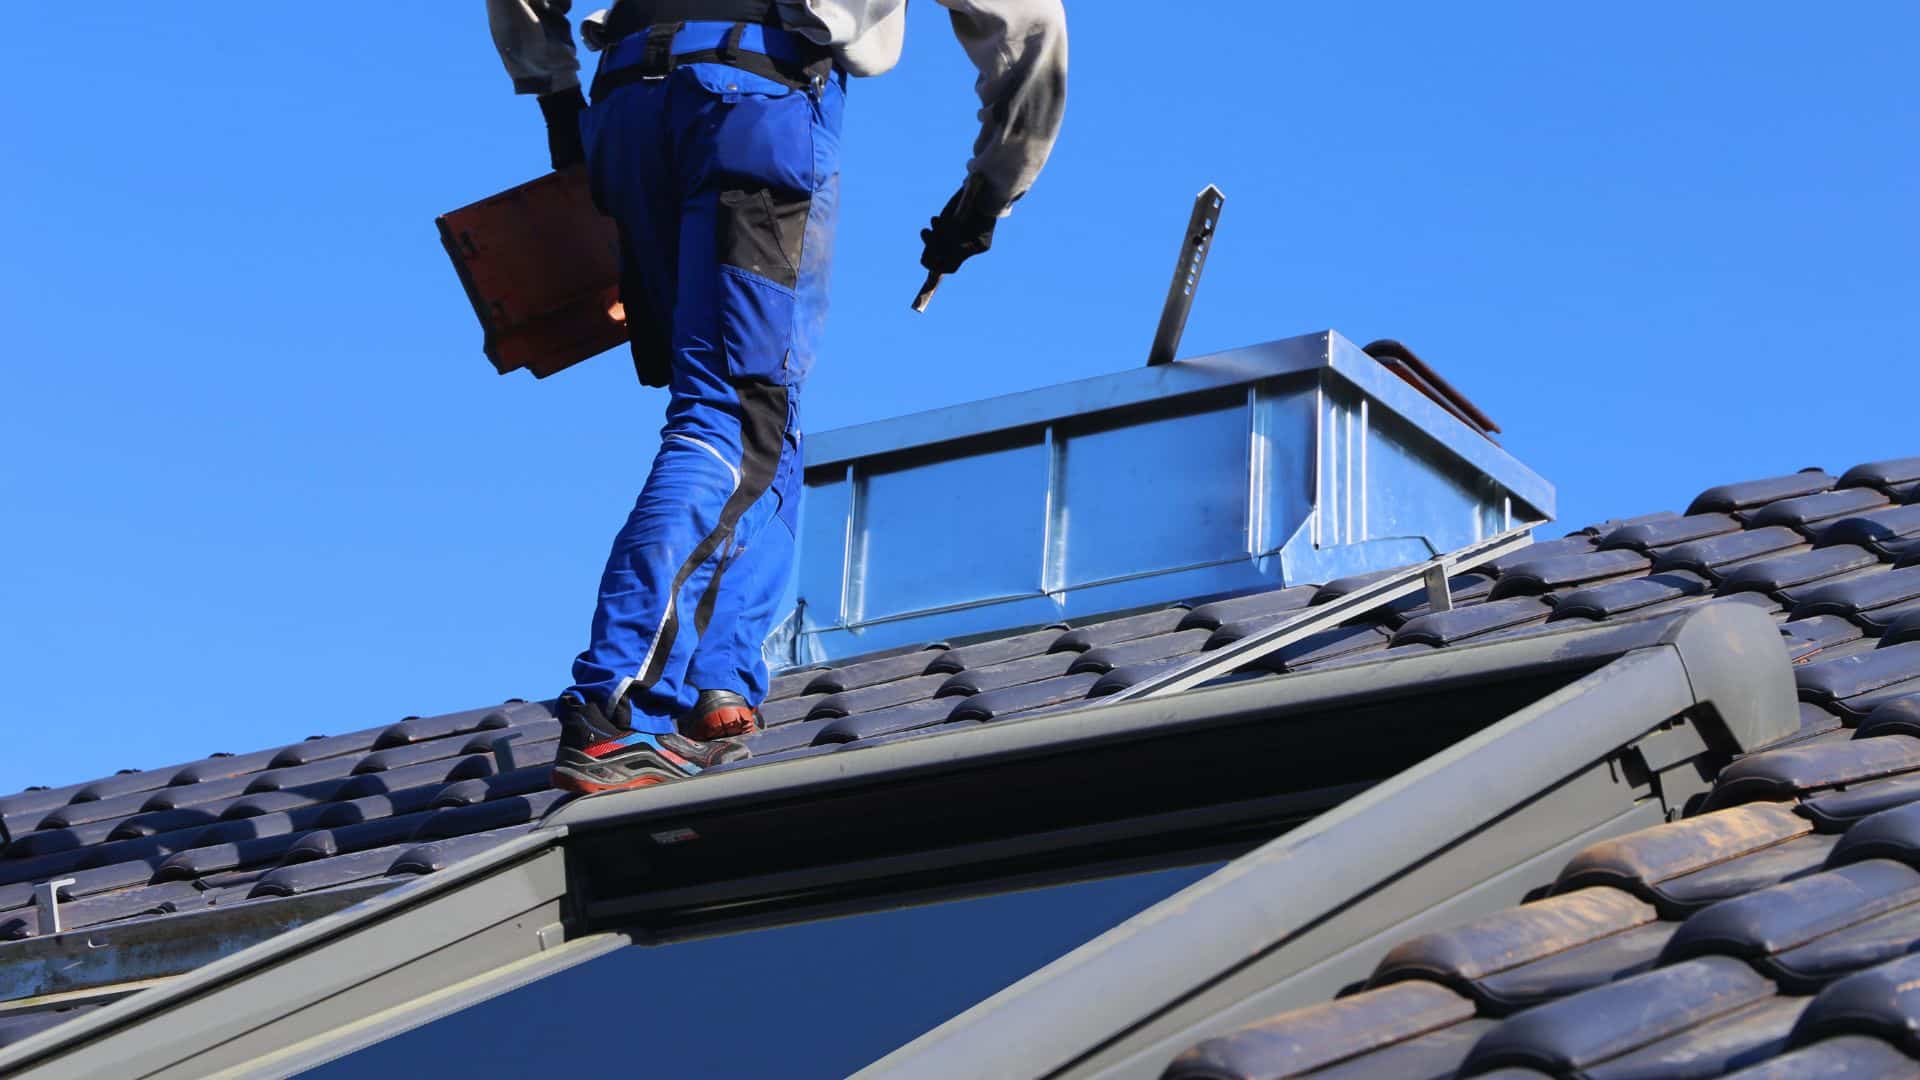
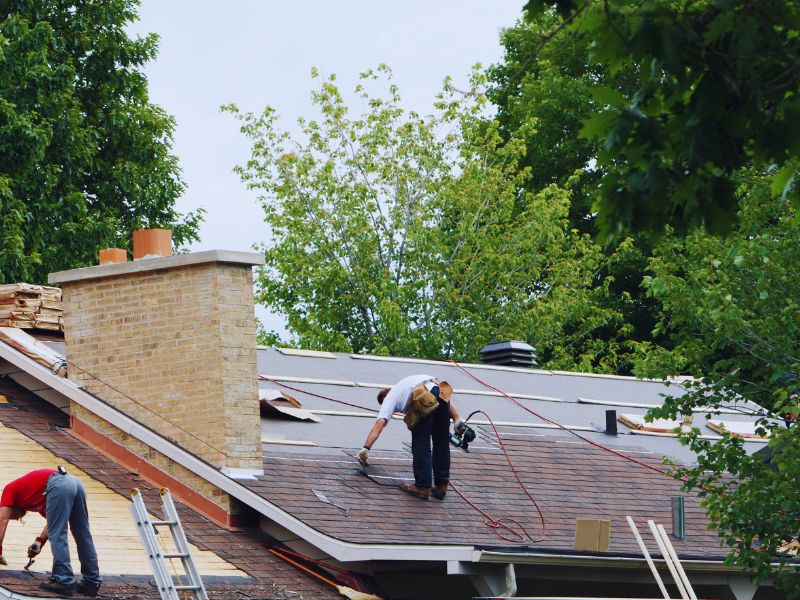
A standard roof pitch refers to the most commonly used roof angles in residential construction that balance performance, cost, and appearance. Understanding this concept helps homeowners make smarter decisions about repairs, replacements, and upgrades. It also impacts related issues such as water drainage around penetrations, where problems like leaks can increase chimney flashing repair needs if the pitch is poorly matched to the roof design.
In this guide, you’ll learn exactly what roof pitch means, how it’s measured, and which pitch ranges are considered standard. We’ll also explore how pitch affects material choices, climate performance, costs, and energy efficiency. Whether you’re planning a new roof or trying to understand an existing one, knowing how standard roof pitch works can save money, prevent damage, and improve your home’s overall performance.
What Is Roof Pitch?
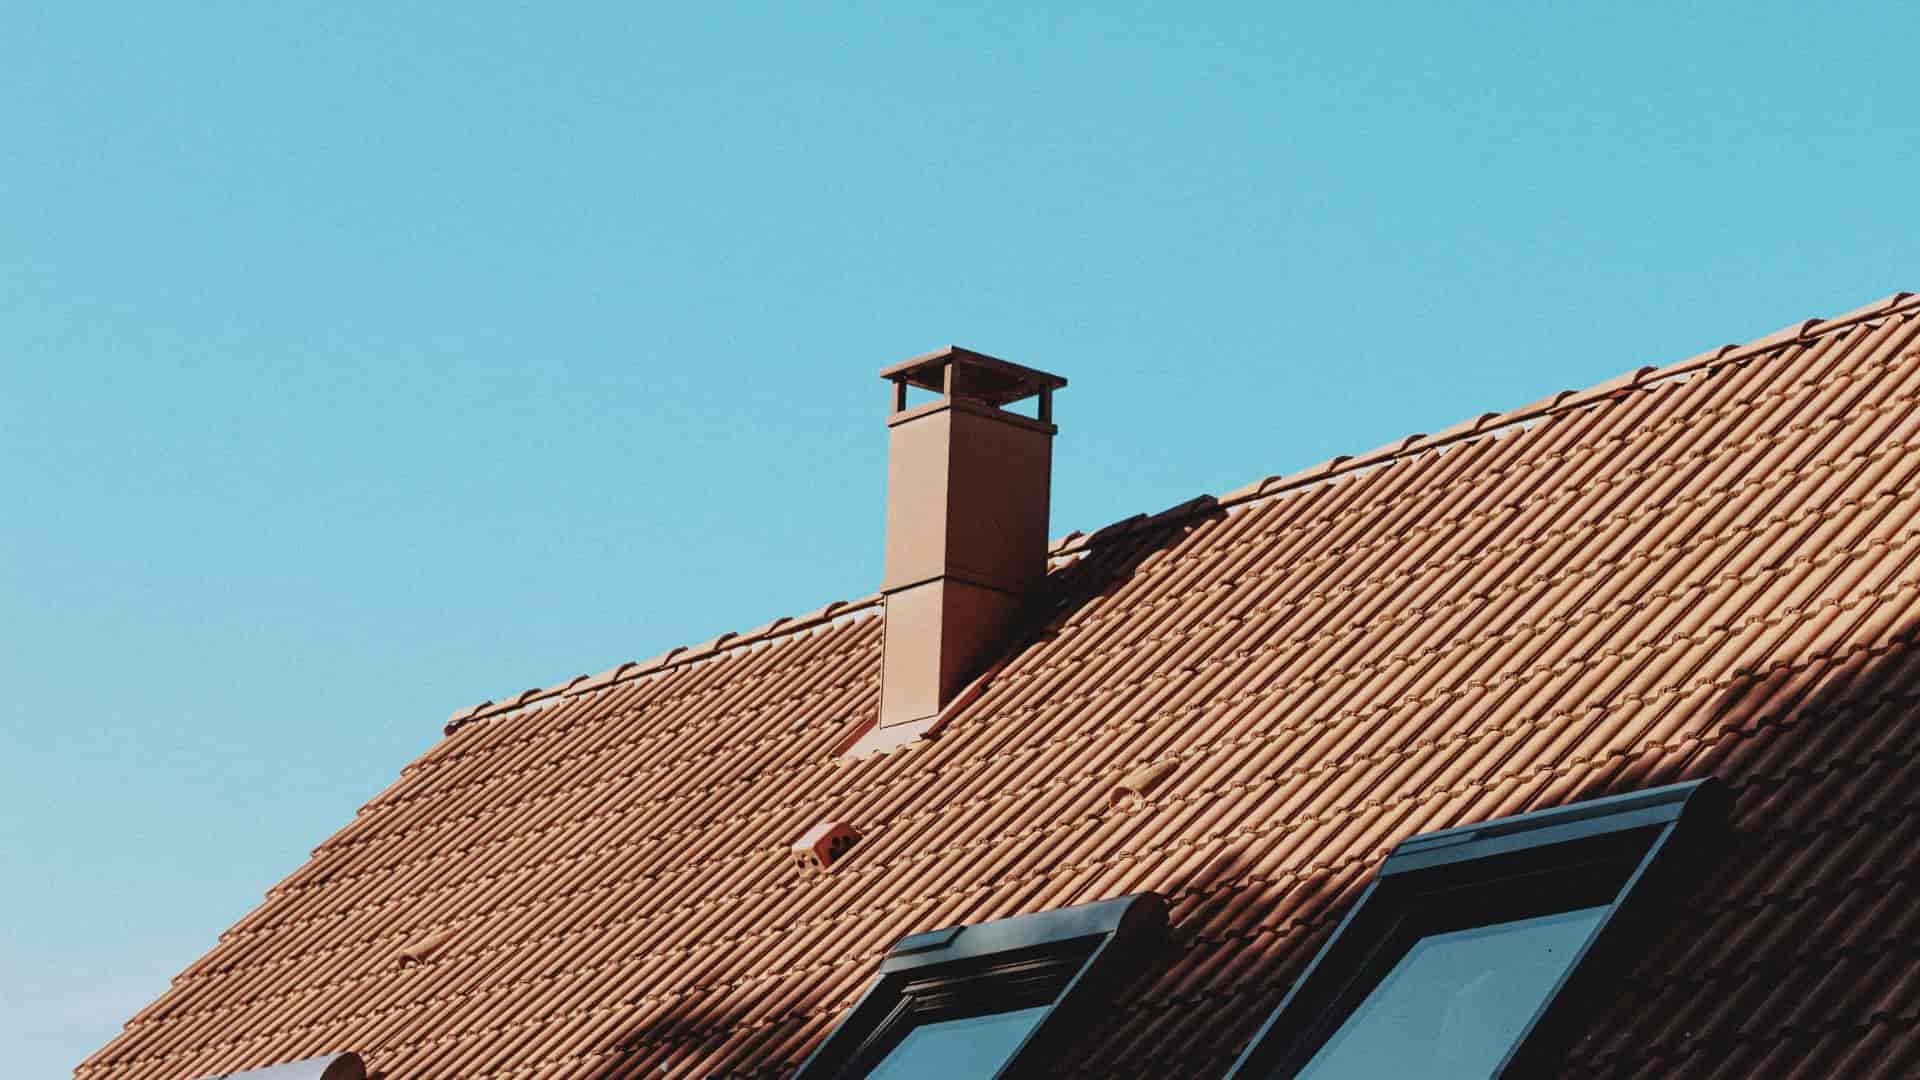
Roof pitch describes the steepness of a roof and is expressed as a ratio of vertical rise to horizontal run. In most residential construction, this ratio is measured over a 12-inch horizontal distance. For example, a 6/12 pitch means the roof rises 6 inches vertically for every 12 inches it runs horizontally.
This ratio format—such as 4/12, 6/12, or 8/12—is the most common way contractors and inspectors communicate roof steepness. It provides a clear, standardized reference that works across materials and building styles.
It’s important to distinguish pitch from slope, even though many people use the terms interchangeably. Pitch is a ratio (rise over run), while slope is often expressed as a percentage. For instance, a 6/12 pitch equals a 50% slope. Some homeowners also prefer to convert pitch into degrees, especially when using digital tools. A 6/12 pitch equals roughly 26.6 degrees.
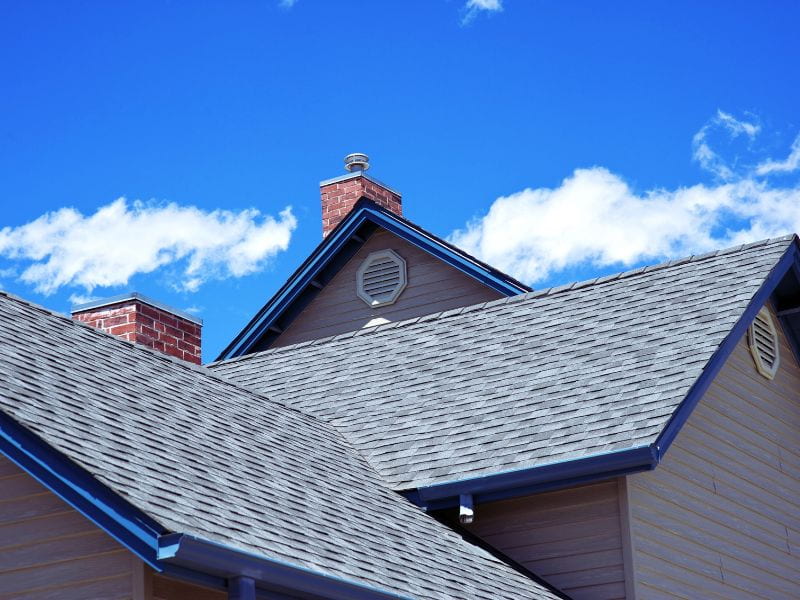
Understanding roof pitch is essential not just for structure and aesthetics, but also for waterproofing details. Improper angles can stress vulnerable areas like valleys and penetrations, increasing the likelihood of leaks and the need for flashing chimney repair over time.
Understanding Standard Roof Pitch Ranges
Roof pitches generally fall into three broad categories, each suited to different designs and functional needs.
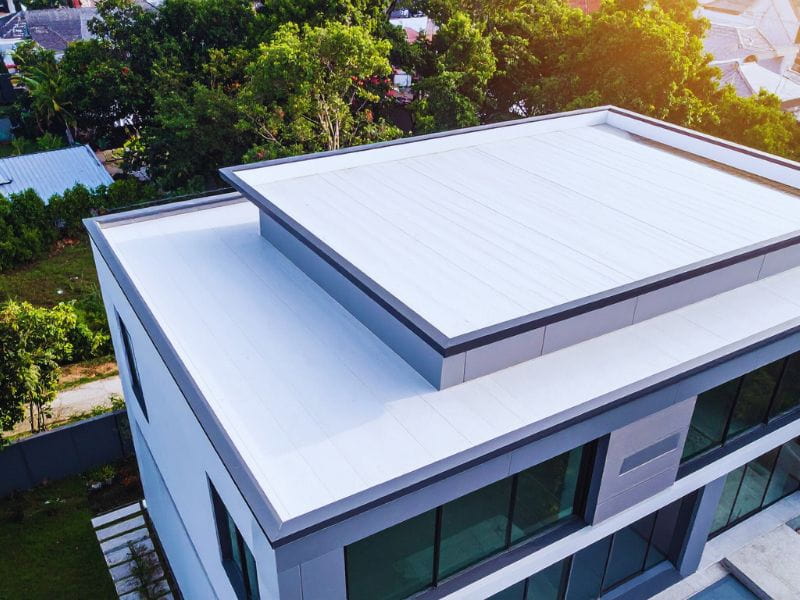
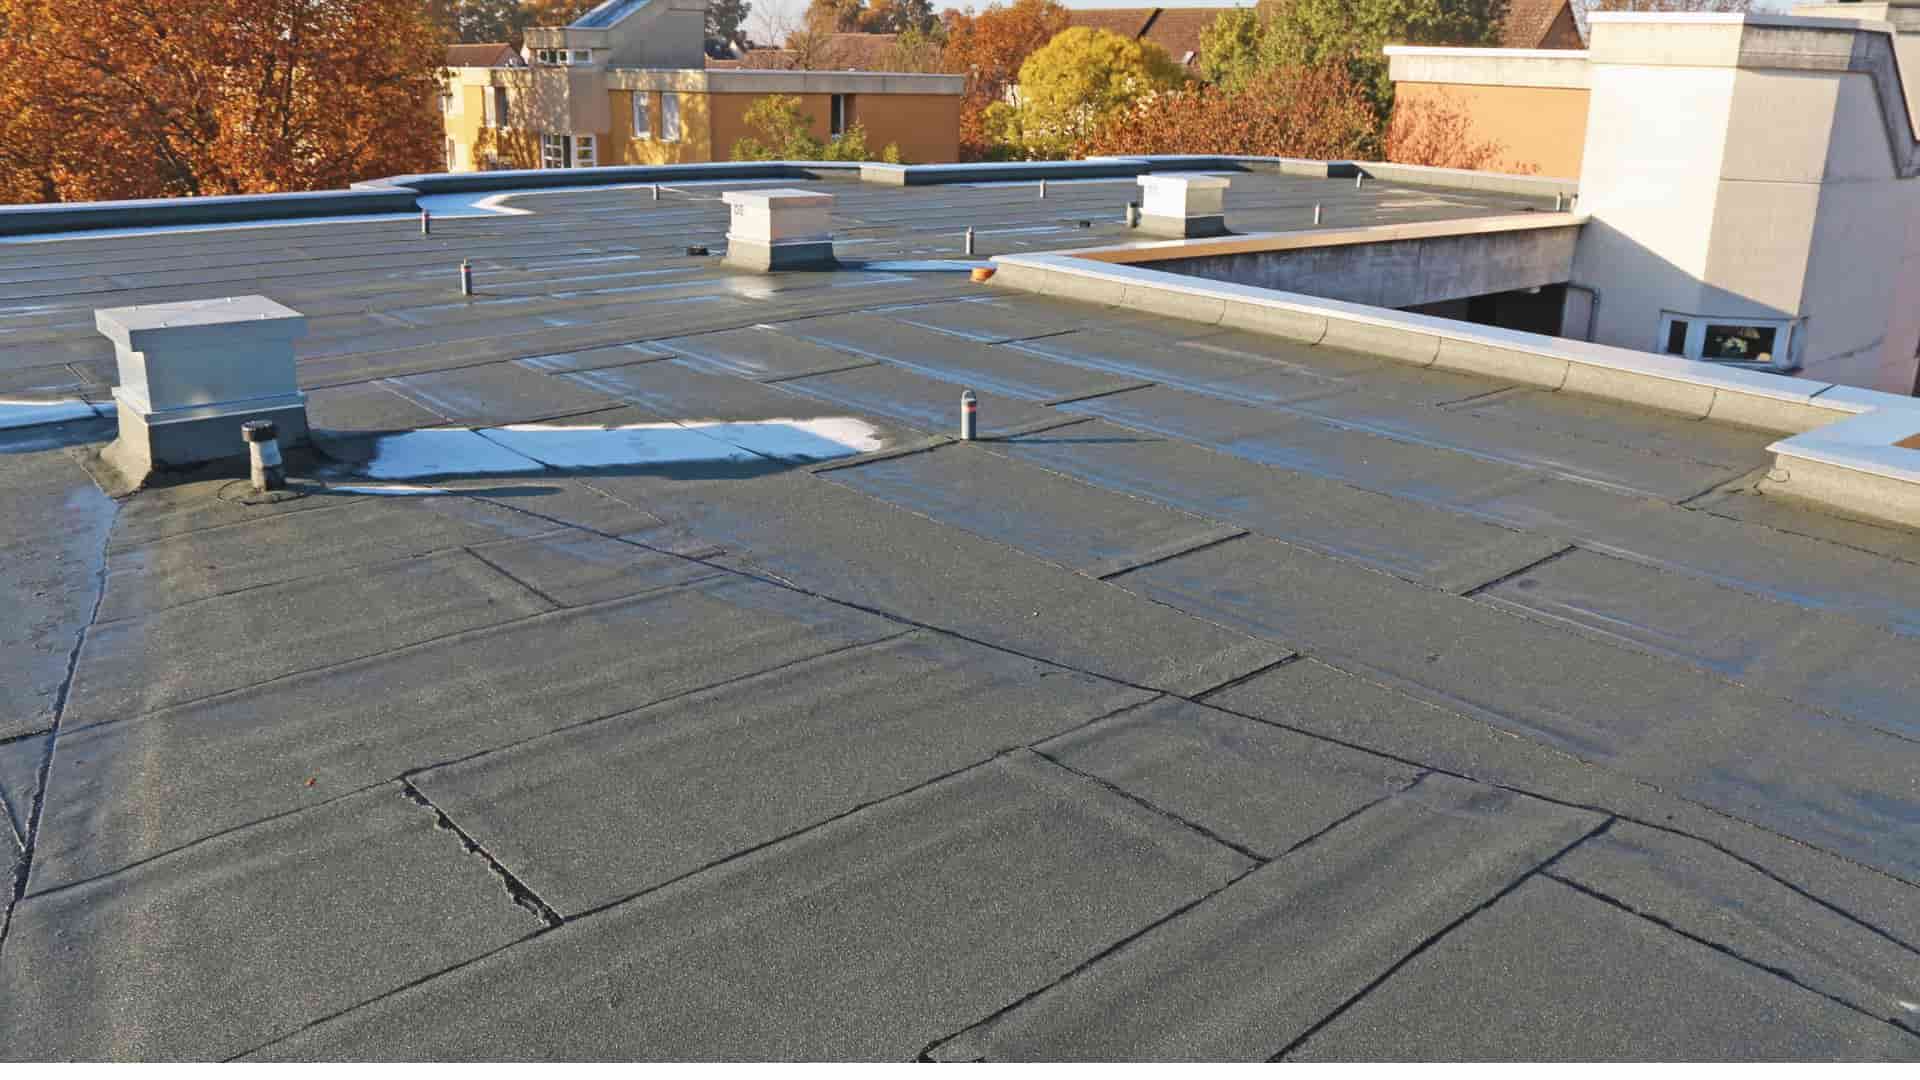
Low-Slope / Flat Roofs
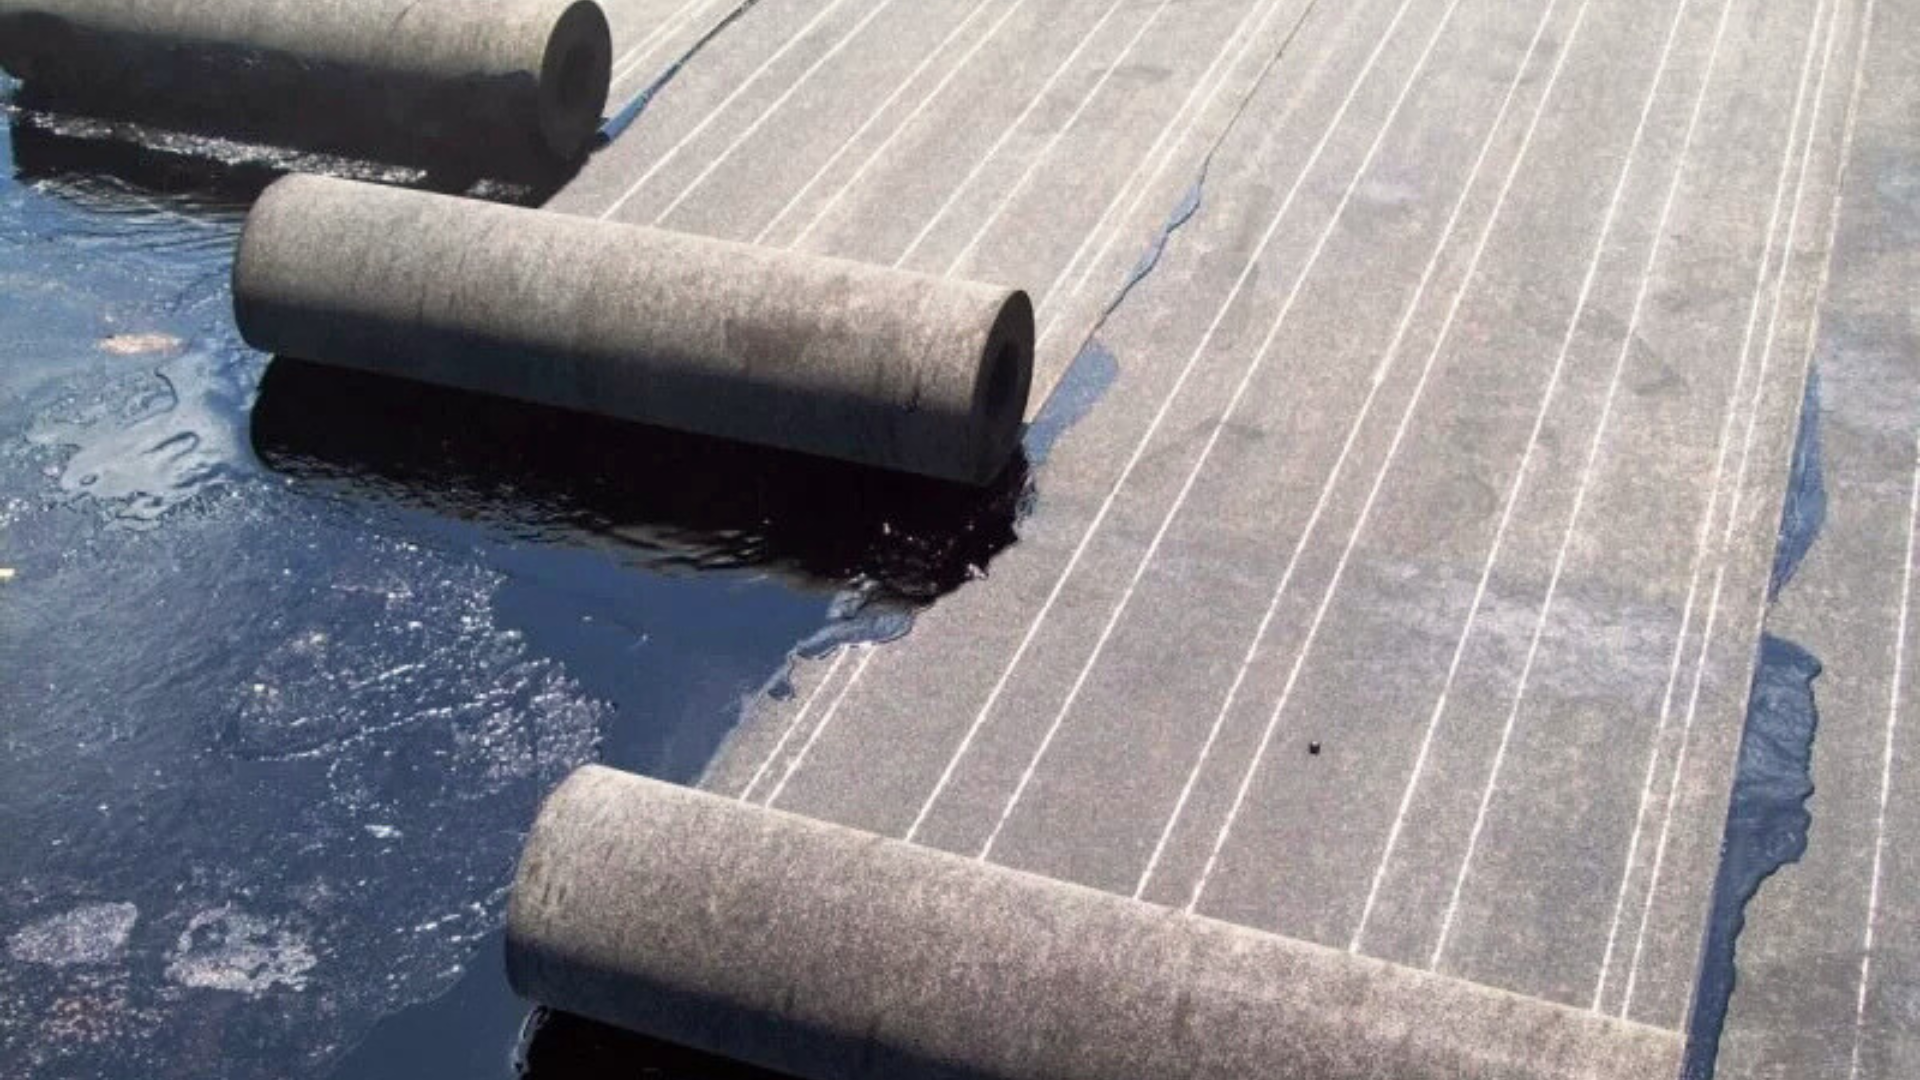
Low-slope roofs are defined as having a pitch of 2/12 or less. These roofs are common on commercial buildings, modern homes, and additions such as porches or garages. While they offer a sleek appearance and lower construction costs, drainage is a major concern. Water tends to move slowly, which increases the risk of pooling and leaks, especially around chimneys where chimney flashing repair is often required.
Conventional / Standard Pitch
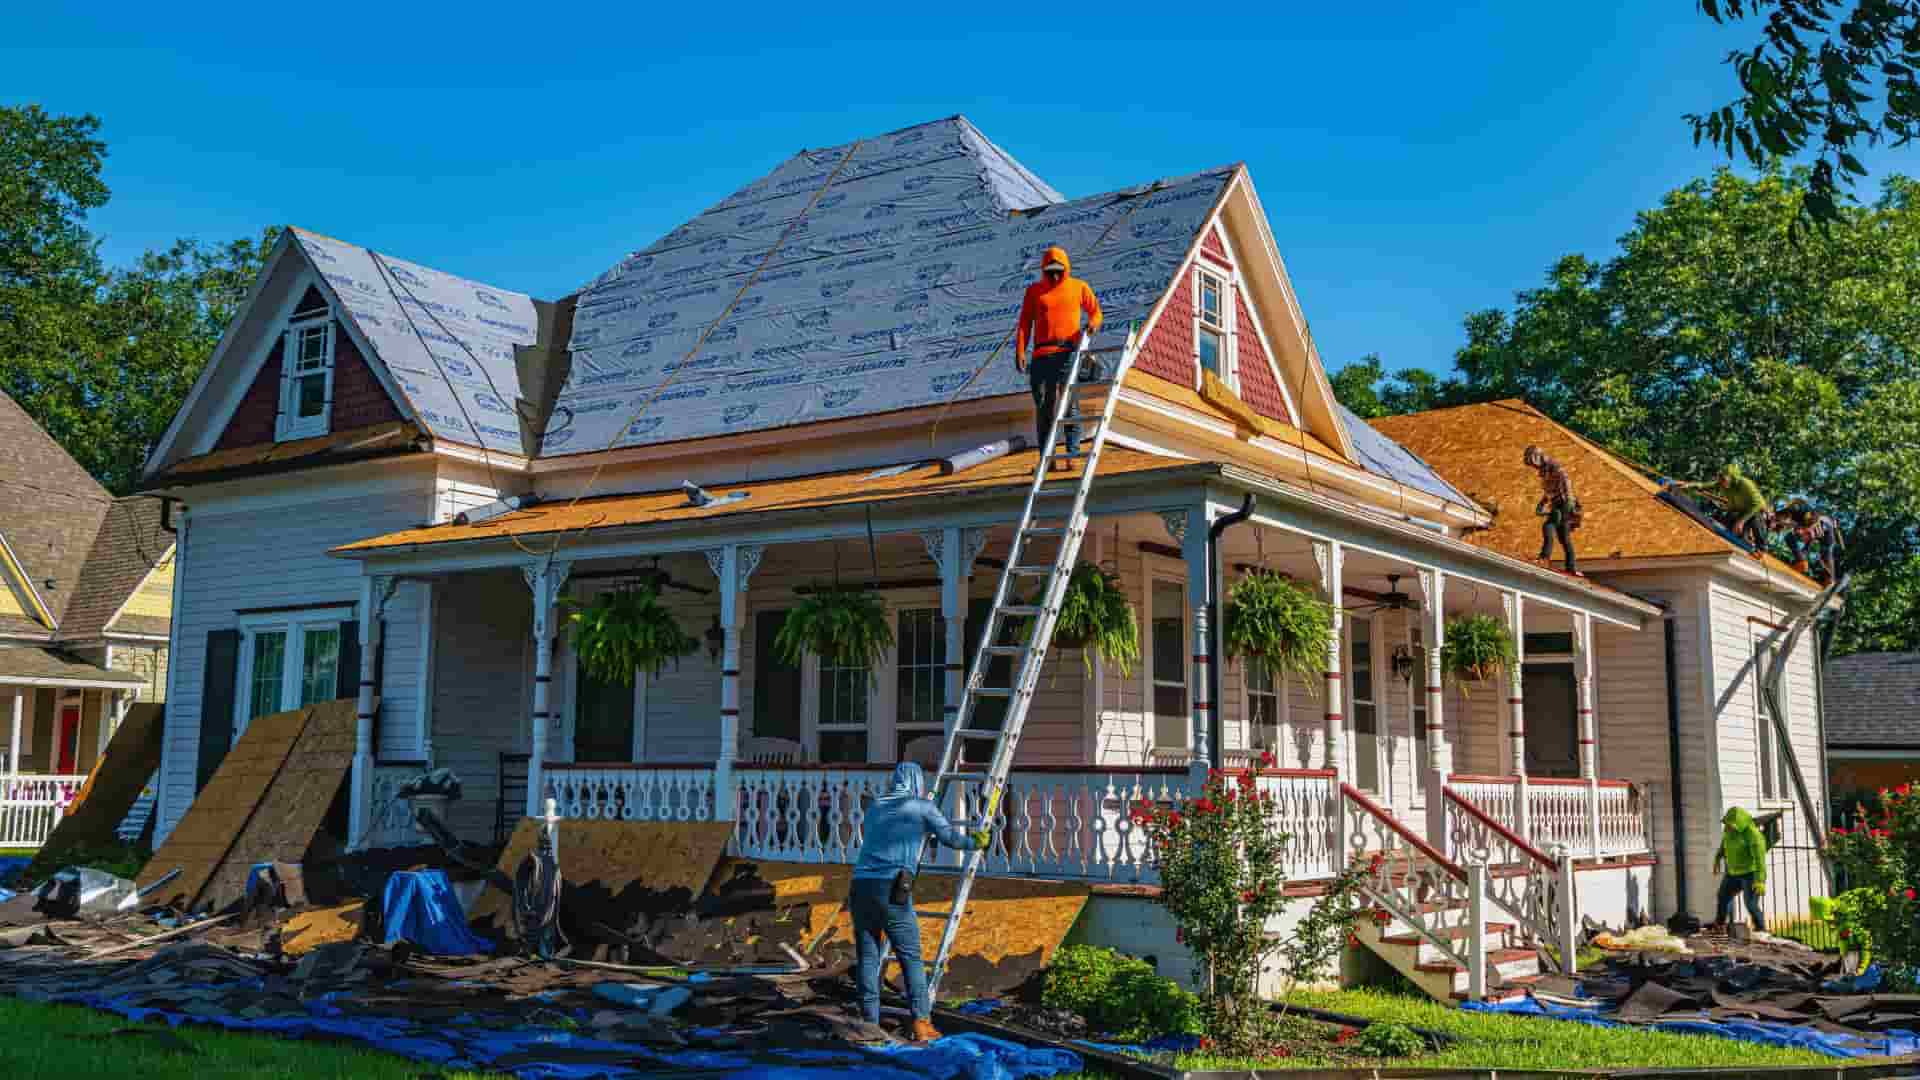
The most common residential roof pitches fall between 4/12 and 9/12. Within this range, 4/12 to 6/12 is by far the most popular for homes, as it balances water shedding, walkability, and cost efficiency. This range is widely considered the “standard” because it works well with asphalt shingles, metal roofing, and many architectural styles.
Steep-Slope Roofs
Roofs with a pitch of 10/12 or higher are considered steep-slope roofs. These are often found in Victorian, Gothic, or alpine-style homes. They shed snow and water extremely well but are more expensive to build and maintain due to safety and labor challenges.
Simple Pitch Category Overview
| Pitch Range | Category | Common Uses |
|---|---|---|
| 2/12 or less | Low-slope | Commercial, modern homes |
| 4/12–6/12 | Conventional | Most residential homes |
| 10/12+ | Steep-slope | Victorian, alpine designs |
Why Roof Pitch Matters
Roof pitch is not just a design choice—it directly affects how your roof performs over decades.
Weather Resistance & Drainage
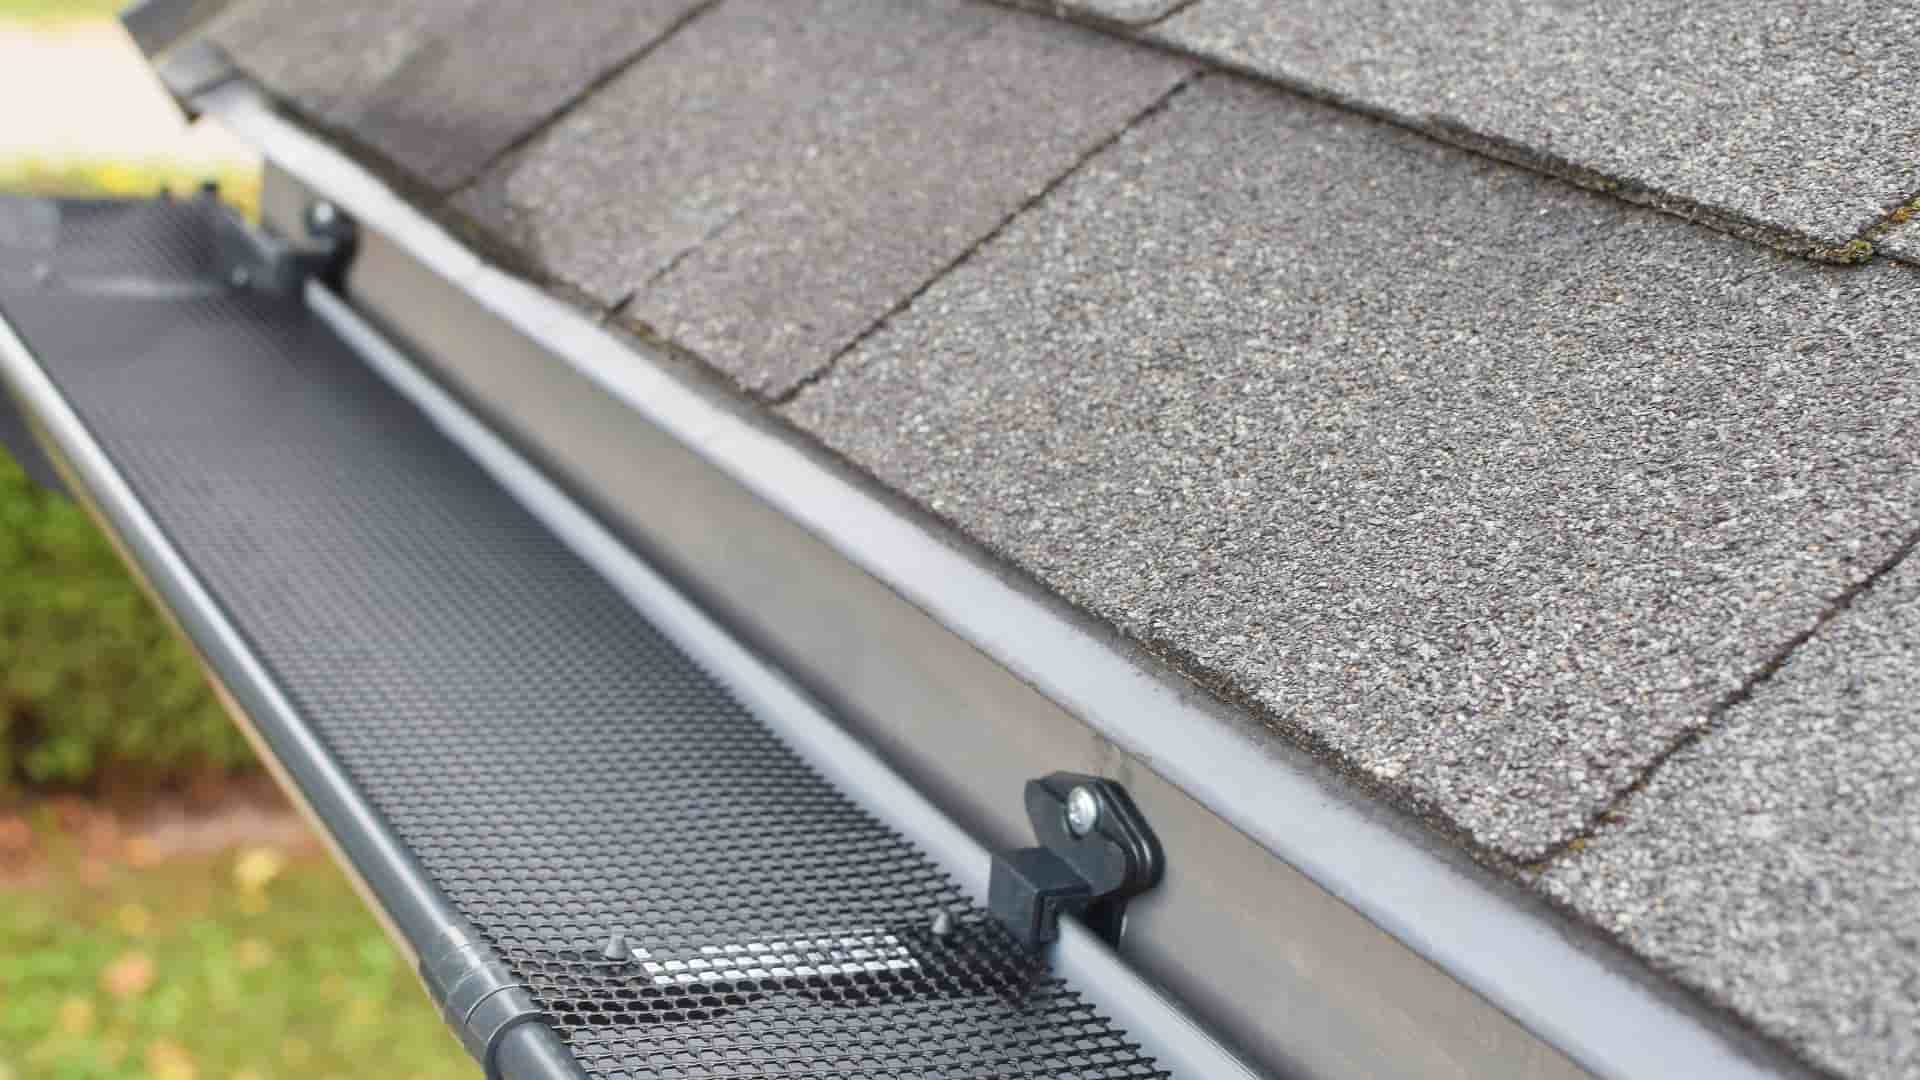
Steeper roofs shed rain and snow more effectively, reducing moisture buildup. Low-slope roofs are more prone to ponding water, which can lead to leaks and increased chimney flashing repair cost over time if water finds its way around roof penetrations.
Material Compatibility
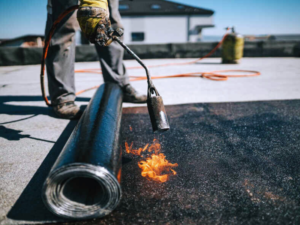
Each roofing material has a minimum pitch requirement. Installing shingles or tiles below their rated pitch can void warranties and cause premature failure. Improper installations often lead homeowners to search for chimney flashing repair near me after leaks develop.
Structural Integrity
In snowy regions, pitch affects how much snow accumulates on the roof. A steeper roof reduces snow load stress on the structure, while flatter roofs require stronger framing.
Cost Implications
Steeper roofs need more materials and labor, increasing upfront costs. Low-slope roofs can be cheaper initially but may cost more in maintenance, especially if drainage issues develop.
Energy Efficiency
Pitch influences attic ventilation and insulation space. Better airflow can reduce heat buildup, improving energy efficiency in hot climates.
Aesthetics & Home Value
Roof pitch defines curb appeal. A well-matched pitch enhances architectural harmony and resale value.
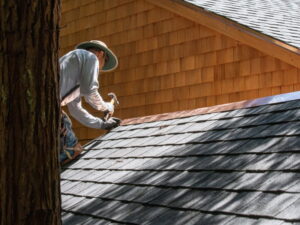
How to Measure Your Roof Pitch
Measuring from Outside
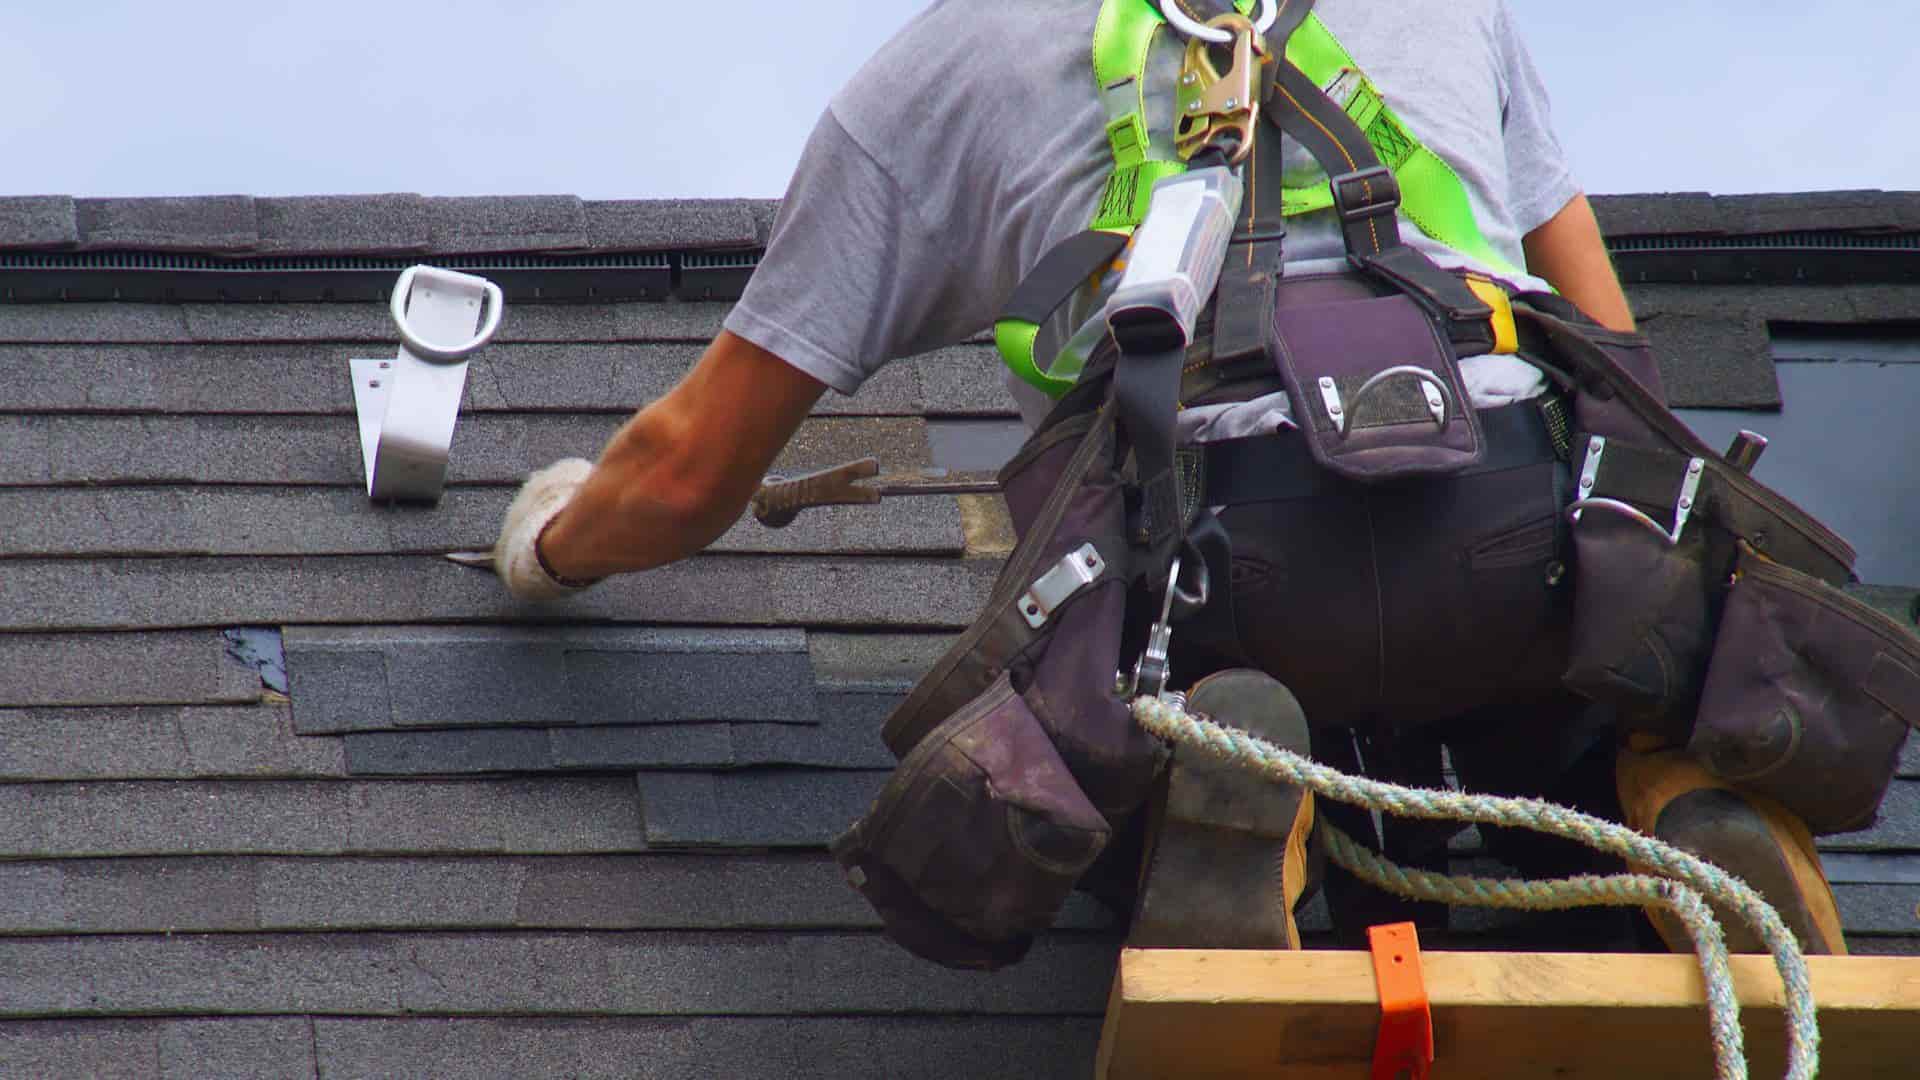
To measure roof pitch from outside, you’ll need a ladder, a 12-inch level, and a tape measure. Safety should always come first—use a stable ladder, wear non-slip shoes, and avoid measuring in wet or windy conditions. Begin by placing the level horizontally on the roof surface, then measure 12 inches along the level. Next, measure vertically from the roof surface up to the end of the level. This vertical measurement represents the roof’s pitch rise and, when paired with the 12-inch run, gives you the roof pitch ratio.
Measuring from the Attic
This method is often safer and just as accurate as measuring from the roof exterior. Start by locating a rafter inside the attic, then measure 12 inches horizontally along the rafter. From that point, measure the vertical rise up to the roof surface and record the measurement. The vertical rise over the 12-inch run gives you the roof pitch ratio.
Digital Tools & Apps
Modern roof pitch calculators and smartphone apps allow users to estimate pitch using photos or sensors. While convenient, these tools should be verified for accuracy.
Safety Disclaimer: If you’re uncomfortable accessing your roof or attic, hire a professional. Incorrect measurements can lead to costly mistakes and unnecessary flashing chimney repair.

Most Common Roof Pitches by Home Style
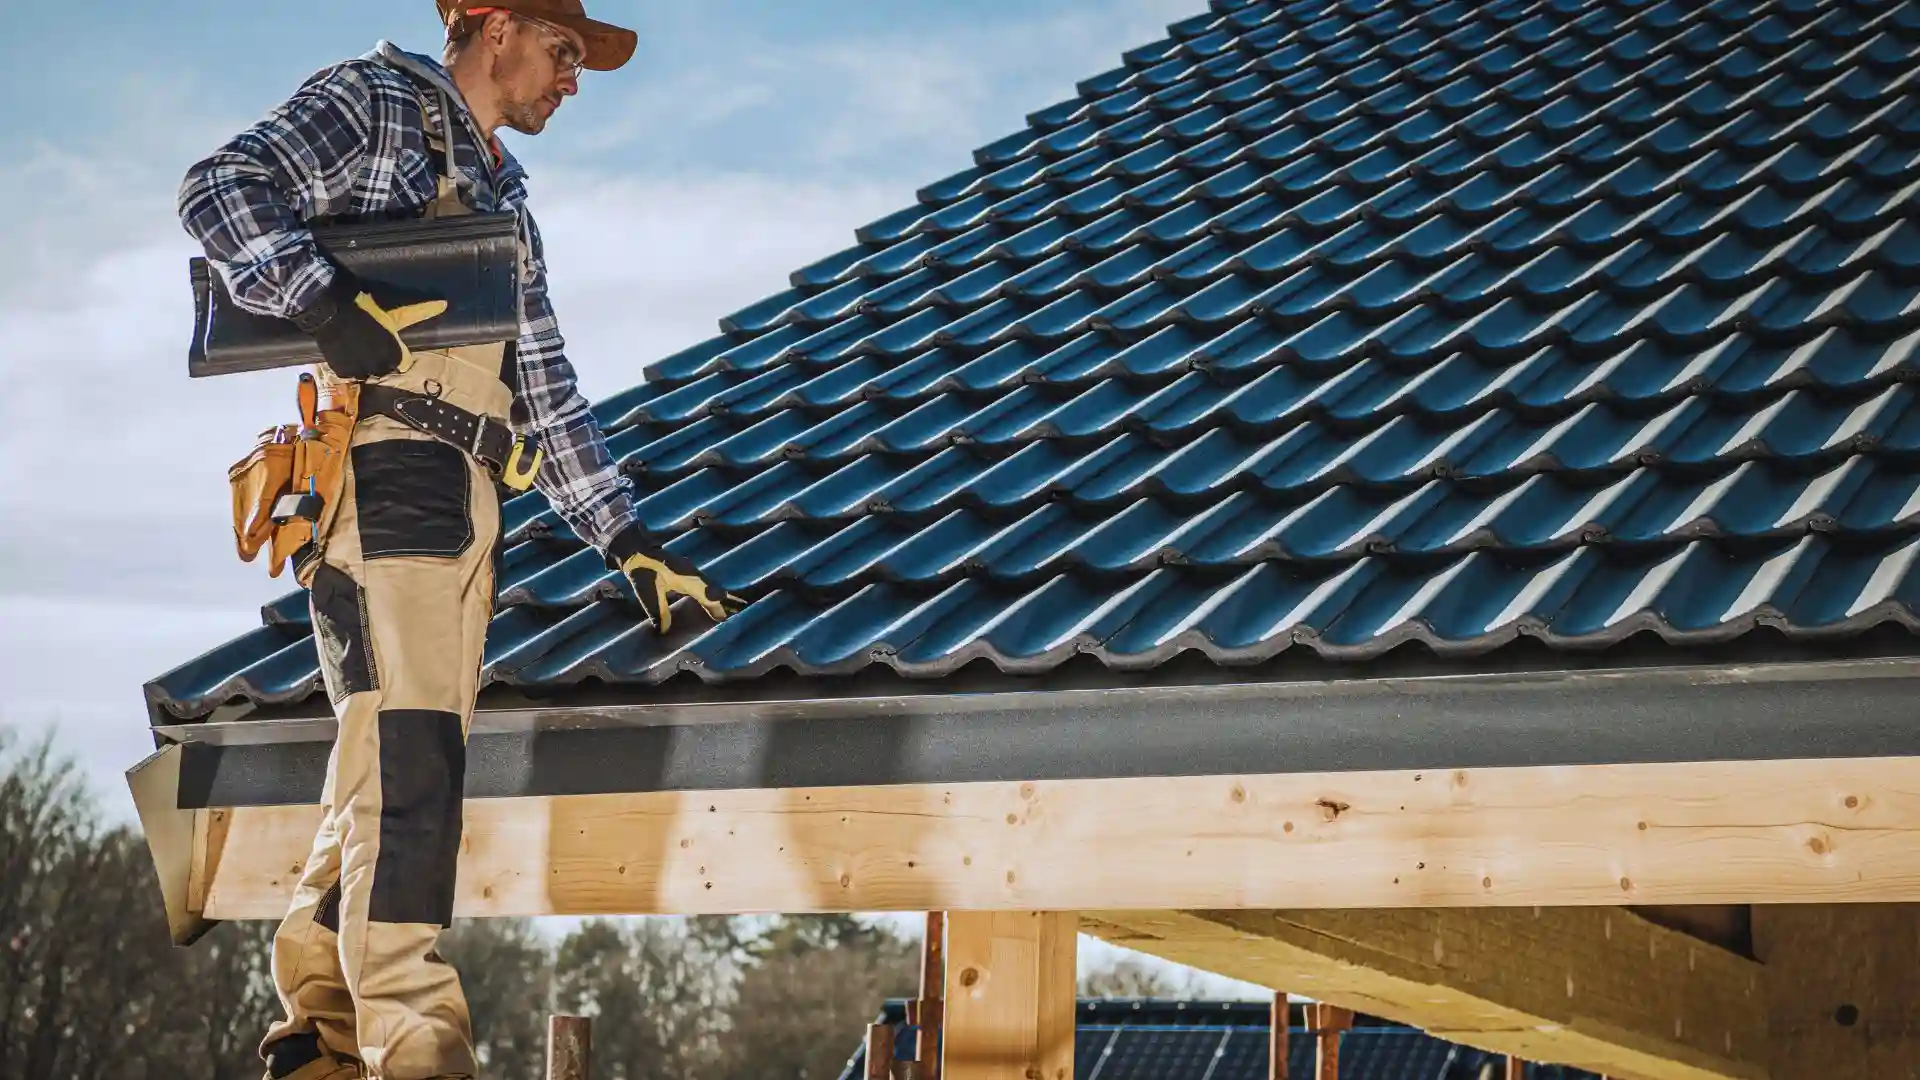
Different architectural styles evolved with specific roof pitch ranges to balance both function and aesthetics. Ranch homes commonly use a 4/12 pitch because of their simple design, easy maintenance, and cost-effective construction. Cape Cod and Colonial homes typically feature steeper pitches ranging from 8/12 to 12/12, which help shed snow efficiently while also creating usable attic space. Contemporary and modern homes often favor lower pitches around 3/12 to 4/12 to achieve clean lines and a minimalist appearance. Victorian homes are known for very steep roofs, often 12/12 or greater, giving them a dramatic look along with excellent water-shedding capability. Mediterranean-style homes usually fall within a 4/12 to 6/12 pitch range, which supports the weight of clay tiles while maintaining effective drainage.
Choosing the Right Roofing Material for Your Pitch
Asphalt Shingleskok
-
Minimum pitch: 4/12
-
Ideal for conventional residential roofs.
Metal Roofing
-
Minimum pitch: 3/12 (lower for standing seam systems)
-
Durable and versatile across many pitches.
Tile (Clay/Concrete)
-
Minimum pitch: 4/12
-
Requires enhanced underlayment due to weight.
Slate
-
Best for steep pitches
-
Heavy material requires strong structural support.
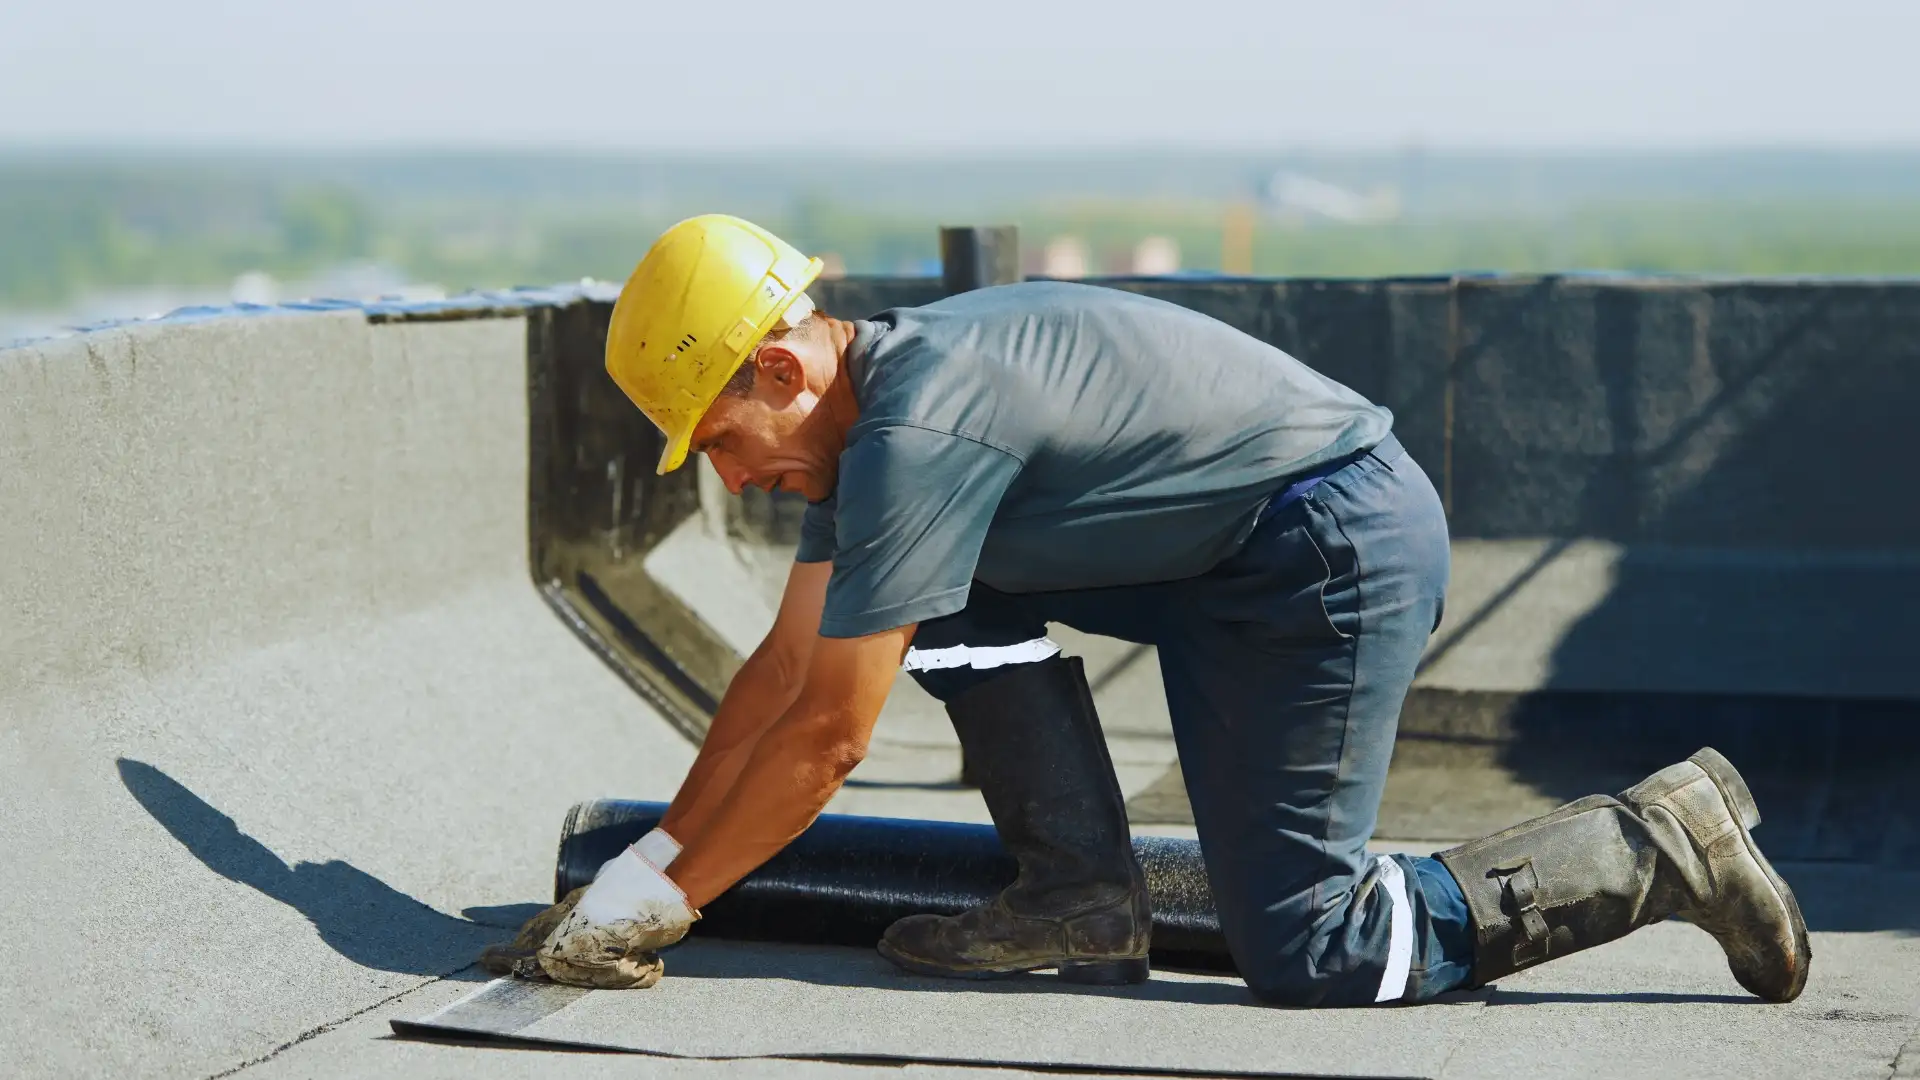
Rubber Membrane / BUR
-
Designed for flat and low-slope roofs
-
Excellent waterproofing but needs proper drainage design.
Material Minimum Pitch Table
| Material | Minimum Pitch |
|---|---|
| Asphalt Shingles | 4/12 |
| Metal Roofing | 3/12 |
| Tile | 4/12 |
| Slate | Steep slopes |
| Rubber Membrane | Low-slope |
Regional & Climate Considerations
Climate plays a major role in determining appropriate roof pitch. Snowy regions benefit from steeper roofs (6/12 or higher) to prevent accumulation. Areas with heavy rainfall need pitches that promote fast drainage, reducing the risk of leaks and repeated chimney flashing repair.
Hot climates benefit from pitches that allow better attic ventilation, while hurricane-prone zones require designs that resist wind uplift. Local building codes often specify minimum pitches based on these conditions and should always be followed.
Cost Factors Related to Roof Pitch
Steeper roofs increase material quantities and labor complexity. Safety equipment and slower installation raise costs. Over time, maintenance expenses also vary—flatter roofs may require more frequent inspections and higher chimney flashing repair cost due to drainage challenges.
Energy efficiency tied to pitch can influence utility bills, and some insurance providers adjust premiums based on roof design and risk exposure.
Common Mistakes to Avoid
Choosing a pitch unsuitable for the local climate is a common mistake that can lead to long-term performance issues, especially in areas with heavy rain, snow, or high winds. Installing roofing materials below their minimum pitch requirements can void warranties and cause premature leaks or failures. Ignoring local building codes may result in safety risks, failed inspections, or costly rework later. Poor drainage planning around chimneys often allows water to collect, increasing the likelihood of leaks and structural damage. Underestimating snow load is another serious error, as excess weight can stress the roof structure and lead to sagging or even collapse in colder regions.
Common scenario: A homeowner installs shingles on a low-slope roof. Within two years, leaks appear near the chimney, leading to repeated searches for chimney flashing repair near me and unnecessary repair expenses.
When to Consult a Professional
Consult a roofing professional if you notice leaks, sagging, or repeated flashing failures. Professionals can confirm pitch accuracy, recommend materials, and identify hidden issues. Ask contractors about experience, warranties, and how they address flashing chimney repair in their projects.

Conclusion
Understanding roof pitch helps homeowners make informed decisions that affect durability, cost, and appearance. While many pitch ranges exist, 4/12 to 6/12 remains the most common standard roof pitch for residential homes due to its balance of performance and affordability. Whether planning a replacement or diagnosing issues, professional guidance ensures your roof performs well for decades. For major decisions, a qualified assessment is always worth the investment.
FAQs
What is the most common roof pitch for houses?
Most homes use a 4/12 to 6/12 pitch because it balances drainage, cost, and ease of installation.
What is the standard pitch for a residential roof?
Residential roofs typically fall between 4/12 and 9/12, with 4/12–6/12 being the most common.
Is 4/12 a good roof pitch?
Yes, 4/12 offers good drainage, works with shingles, and is easier and cheaper to maintain.
What’s the minimum roof pitch for shingles?
Most asphalt shingles require at least a 4/12 pitch to perform properly and maintain warranty coverage.
How do I calculate roof pitch?
Measure vertical rise over 12 inches of horizontal run using a level and tape measure.