Discovering a leak in your flat roof can be stressful and urgent. Flat roofs, unlike sloped roofs, have minimal drainage, making them particularly vulnerable to water pooling and damage. Even small leaks, if left untreated, can lead to structural deterioration, mold growth, and costly repairs.
Many homeowners wonder, “how do I repair a leaking flat roof?” The answer depends on the leak’s size, location, and roofing material. Some minor repairs are DIY-friendly, while larger issues require professional attention.
In this guide, we’ll cover how to locate leaks, step-by-step repair methods, safety precautions, and when it’s best to call a professional. You’ll also learn preventive maintenance strategies to avoid future leaks. Remember, safety is paramount—always use proper equipment and avoid working on slippery or unstable roofs.
By the end, you’ll understand how to tackle small leaks yourself or confidently hire an expert for larger repairs.
Understanding Flat Roof Construction and Common Leak Causes
A. Flat Roof Basics
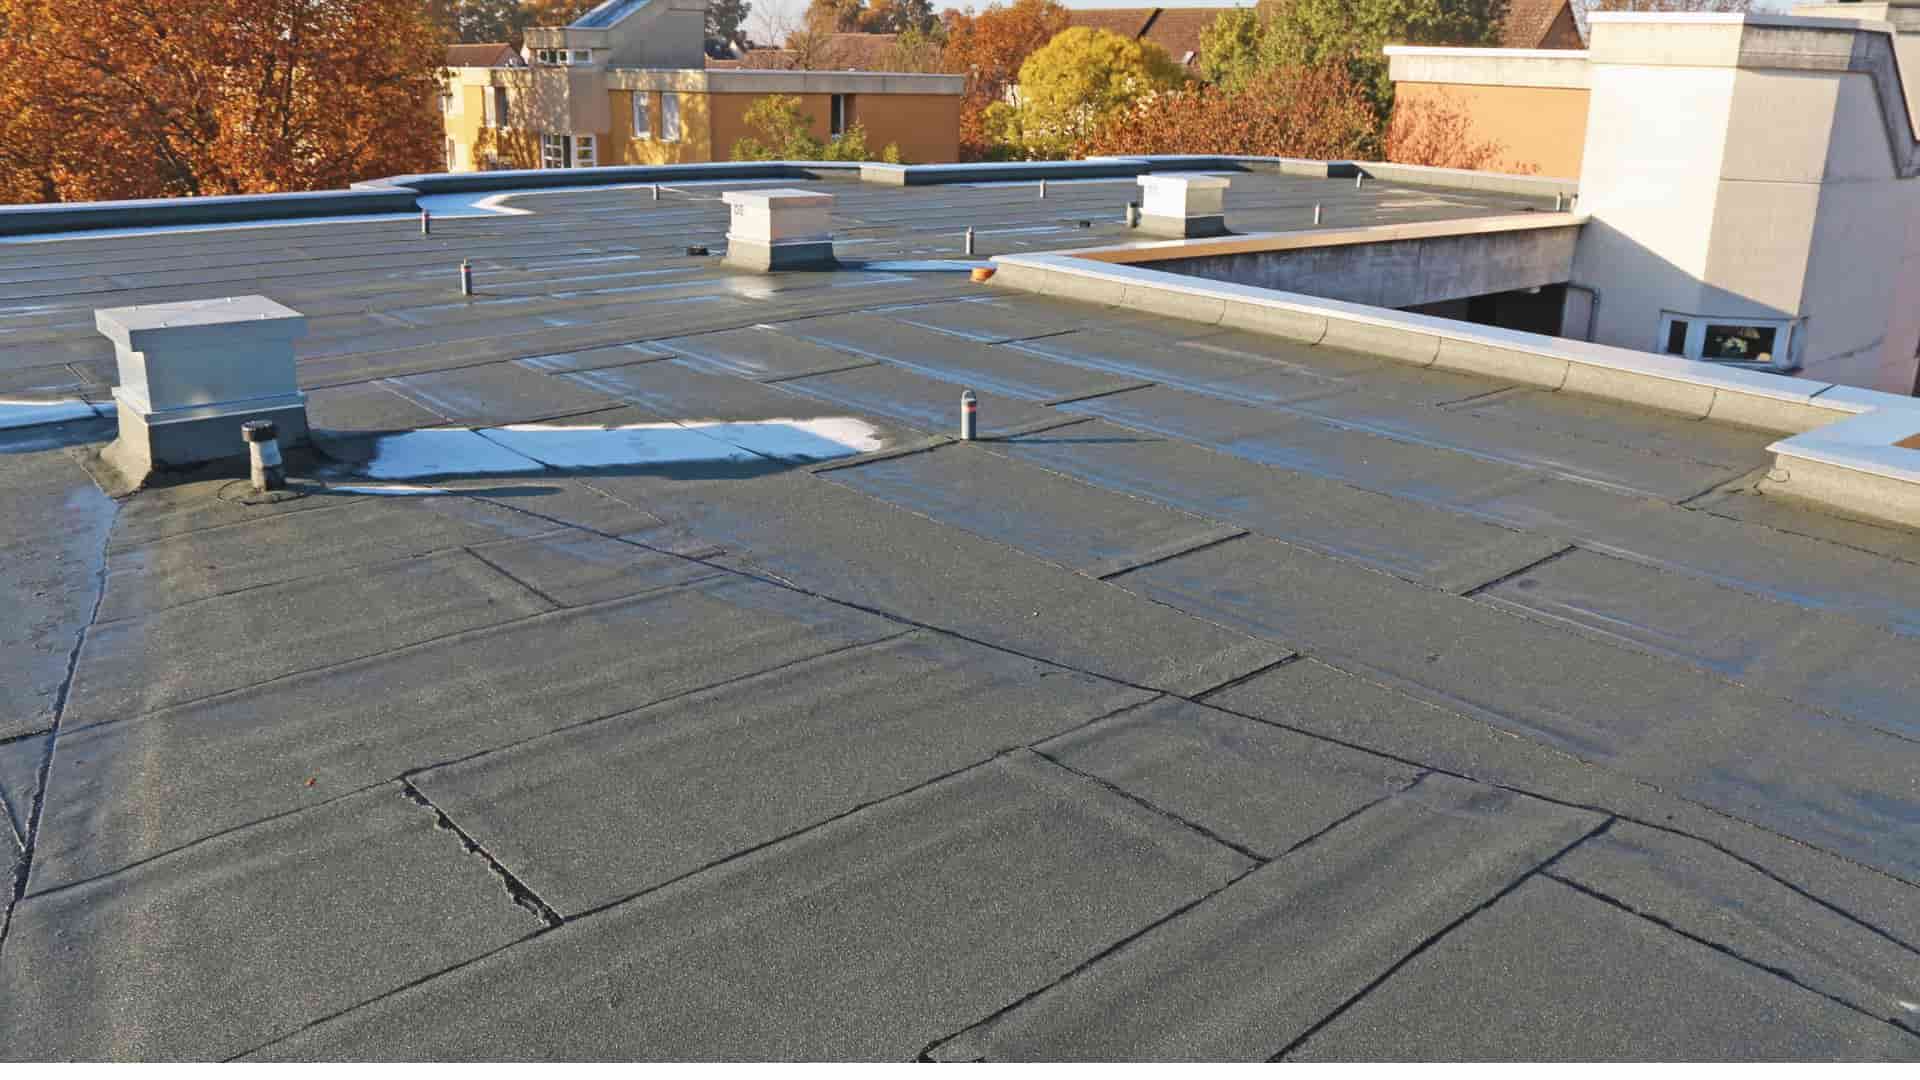
Flat roofs are not perfectly flat—they typically have a slight slope (1/4” to 1/2” per foot) to allow water drainage. Common materials include membrane systems like EPDM or TPO, and built-up roofing (BUR) with layers of tar and gravel. A well-maintained flat roof can last 15–25 years, but aging, weather, and poor maintenance accelerate leaks.
B. Why Flat Roofs Leak
Leaks in flat roofs occur due to multiple factors:
-
Ponding water standing more than 48 hours
-
UV damage weakening membranes
-
Membrane deterioration or punctures
-
Clogged or poor drainage
-
Damaged or missing flashing
-
Blisters, bubbles, or cracks in the membrane
-
Storm damage (hail, wind, debris)
-
Thermal expansion and contraction
-
Improper installation
Understanding these causes is the first step to deciding whether a DIY repair is feasible or a professional roofer is required.
Types of Flat Roofing Materials
A. EPDM (Rubber Roofing)
EPDM is the most common flat roof material in the U.S., made of ethylene-propylene rubber, similar to tire rubber. Durable for 20–30 years, repairs use rubber patches, EPDM tape, and adhesives. Firestone is a leading manufacturer.
B. Modified Bitumen
This asphalt-based membrane uses heat or adhesives for installation. Torch-down application requires professional skill, but minor leaks can be patched with cold adhesive or bitumen cement.
C. TPO (Thermoplastic Polyolefin)
A single-ply membrane with heat-welded seams. Repairs may require specialized adhesives or professional heat-welding.
D. PVC Roofing
Two PVC layers with polyester reinforcement. Chemically resistant and premium cost. Heat-welded seams require skill.
E. Built-Up Roof (BUR)
Layers of tar and roofing felt with gravel. Common in older homes, repairs use hot tar or patching materials.
F. Why Material Matters
Always match repair materials to your existing roof. Using incompatible adhesives or patches can lead to failed repairs.
Step 1: Finding the Source of the Leak
A. Interior Inspection
Look for water stains, discoloration, or active drips during/after rain. Measure distance from stains to walls—water may travel, so leak location isn’t always obvious.
B. Attic/Interior Space
Use a flashlight in dim conditions. Inspect insulation for moisture and look for mold or mildew growth.
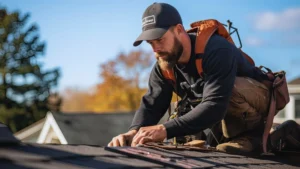
C. Exterior Roof Inspection
Always prioritize safety: proper ladder, non-slip shoes, and a partner. Walk upslope from interior measurement locations. Look for cracks, blisters, peeling membranes, exposed tar, and ponding water. Check flashing around vents, pipes, skylights, roof edges, drains, and parapets.
D. Professional Leak Detection
Infrared thermography, moisture scanning, electrical capacitance testing, and flood testing help locate hidden leaks. Call a professional if you cannot pinpoint the source.
Safety Precautions Before Starting Repairs
A. Essential Equipment
-
Fall protection harness
-
Sturdy ladder
-
Non-slip roofing shoes
-
Gloves and safety glasses
-
Partner or spotter
B. Weather Conditions
Dry conditions only, ideally 50–85°F. Avoid rain, high winds, extreme heat, frost, or ice.
C. Structural Safety
Check roof stability, avoid skylights and weak spots, and ensure no hidden electrical lines.
D. When NOT to DIY
-
Roof is steep or unsafe
-
Extensive damage or structural issues
-
Large-scale repairs
-
Lack of proper tools
Tools and Materials Needed
A. Essential Tools
Tape measure, utility knife, putty knife, broom, towels, scissors, paintbrush or roller, caulking gun, propane torch (caution).
B. Repair Materials
Roofing cement, fiberglass mesh, patch material matching your roof type, EPDM primer, flashing tape, caulk, gravel, reflective coating, cleaning solution.
C. Optional but Helpful
Pressure washer, moisture meter, knee pads, boards for weighting patches.
Step-by-Step Flat Roof Leak Repair Methods
A. Preparation
Clean debris and dry area thoroughly. Moisture under patches leads to mold and failed repairs.
B. Small Crack or Hole Repair
Apply roofing cement around crack, embed fiberglass mesh, cover with more cement, smooth surface, and allow 24–48 hours to cure.
C. Blister or Bubble Repair
Cut an “X” in blister, dry interior, apply cement beneath flaps, press down, patch over, smooth, and seal edges.
D. Membrane Patch Repair
Remove damaged membrane, clean area, apply roofing cement, place patch, cover with cement, apply second patch extending 6” beyond first, seal edges.
E. Edge and Seam Repair
Lift peeling membrane, clean, apply cement underneath, press down, weight boards until set, seal edges.
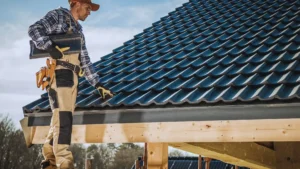
F. Flashing Repair
Remove old flashing, clean, apply cement, install new flashing, secure, and seal edges.
G. Full Roof Resealing
Clean roof, apply primer, embed fiberglass mesh in bitumen sealant, apply second coat, smooth surface, add reflective coating.
Specific Repair Tips by Material Type
-
EPDM: Use primer, tape, and rubber adhesive; avoid petroleum products.
-
Modified Bitumen: Cold adhesive for DIY; torch-down requires professionals.
-
TPO: Heat welding best left to pros; ensure chemical compatibility.
-
BUR/Tar & Gravel: Cold-applied cement for small repairs; replace gravel after patching.
After the Repair: Inspection and Testing
-
Inspect for smooth, sealed surface
-
Allow 24–48 hours to cure
-
Test with gentle hose spray
-
Monitor during next rain and document any new leaks

Preventive Maintenance to Avoid Future Leaks
-
Inspect twice yearly and after storms
-
Keep drains and gutters clear
-
Trim overhanging vegetation
-
Address ponding water and consider slope correction
-
Apply reflective roof coatings every 3–5 years
-
Limit foot traffic and use designated walkways
-
Annual professional inspection recommended
When to Call a Professional Roofer
Call a professional if:
-
Damage exceeds 20% of roof
-
Structural issues exist
-
Multiple leaks or ponding water
-
Membrane replacement needed
-
DIY repairs fail
Benefits: proper diagnosis, correct materials, warranty, safety, and long-term solutions.
Cost Considerations: DIY vs. Professional
| Repair Type | DIY Cost | Pro Cost |
|---|---|---|
| Small crack | $50-$150 | $250-$600 |
| Membrane patch | $100-$300 | $400-$1,000 |
| Full resealing | $300-$800 | $1,000-$3,000 |
| Replacement | N/A | $5,000-$15,000+ |
DIY makes sense for small, accessible leaks. Professionals save time, ensure quality, and offer warranties.
Common Mistakes to Avoid
-
Not drying the area
-
Using incompatible materials
-
Insufficient patch overlap
-
Trapping air bubbles
-
Walking on fresh repairs
-
Working in wrong weather
-
Safety oversights
Conclusion
Flat roof leaks are manageable with proper diagnosis, materials, and technique. Small leaks are often DIY-friendly, but safety and correct materials are critical.
Regular maintenance prevents most issues, while professional repairs ensure long-term durability. If you’re asking “how do I repair a leaking flat roof?”, start with inspection and small fixes, and call a professional when in doubt.
Call-to-action: Inspect your flat roof today and address small leaks before they become major problems.
Follow us on Facebook.
FAQs
-
Can I repair a flat roof myself?
Yes, small cracks, blisters, and minor punctures can be DIY-repaired safely. -
How long will a flat roof repair last?
Properly done repairs can last 5–10 years depending on materials and maintenance. -
Should I use a tarp temporarily?
Yes, secure beyond leak area and plan for permanent repair as soon as possible. -
When is full replacement needed?
If damage >25–30% of roof, multiple leaks exist, or roof is near end of lifespan. -
Can I prevent future leaks?
Yes, regular inspections, clearing drains, trimming vegetation, and protective coatings help prevent leaks.