Chimney flashing plays a critical role in safeguarding your home from water damage. This metal barrier seals the joint between your chimney and roof, preventing leaks that can compromise your roof, siding, and interior walls. In fact, flashing failures account for nearly 40% of all chimney leaks, making it the number one culprit behind water infiltration around chimneys.
Ignoring damaged flashing can lead to serious consequences: rotting wood, mold growth, structural deterioration, and expensive repairs. Homeowners often wonder about chimney flashing repair cost, or search for “chimney flashing repair near me” to prevent damage before it escalates.
In this article, you’ll learn what chimney flashing is, why it fails, how to identify damage, repair methods, whether to DIY or hire a professional, cost considerations, and preventative maintenance. By the end, you’ll have the knowledge to protect your home with the right flashing chimney repair strategies.
What is Chimney Flashing? Understanding the Basics
A. Definition and Purpose
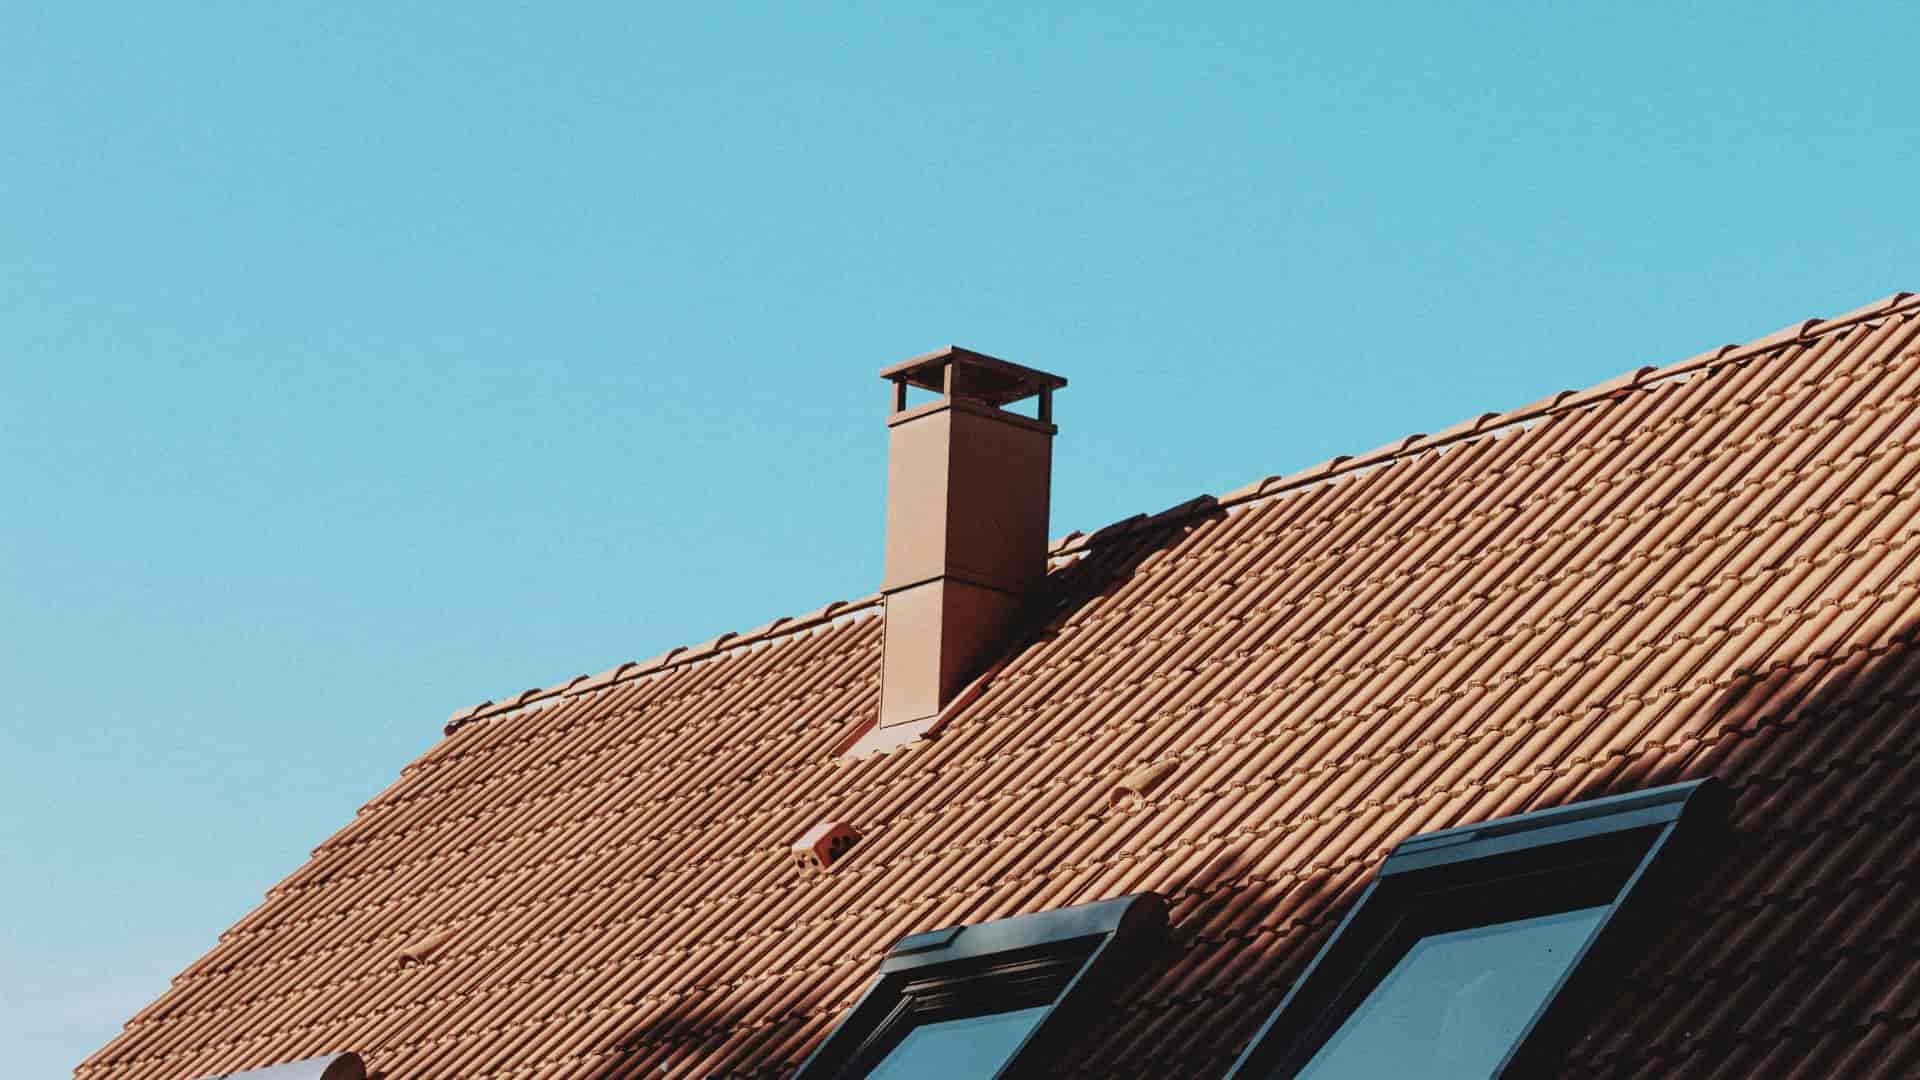
Chimney flashing is a waterproof metal system that surrounds the chimney where it meets the roof. Its main purpose is to redirect water away from the vulnerable joint between chimney and roof decking, preventing leaks, rot, and structural damage. Unlike shingles, flashing is specifically designed to withstand water exposure and temperature fluctuations.
B. The Two-Part Flashing System
1. Base/Step Flashing (Lower Layer)
-
L-shaped metal pieces installed in steps along the chimney sides
-
Integrated with roof shingles
-
Attached to the roof deck, not the chimney
-
Accommodates thermal expansion and contraction
-
Forms the first barrier against water
2. Counter Flashing (Upper Layer/Cap Flashing)
-
Installed over base flashing and embedded in mortar joints
-
Overlaps step flashing by 3–4 inches
-
Attached to chimney, not roof
-
Provides secondary water barrier
-
Allows roof and chimney to move independently
C. How the System Works
The two-layer system ensures redundancy. Water hitting the counter flashing is directed onto step flashing, which then channels it safely onto shingles. Independent movement prevents tearing from settling or roof movement.
D. Types of Chimney Flashing Materials
-
Aluminum: Affordable, lightweight, rust-resistant, 20–30 year lifespan
-
Copper: Premium, beautiful patina, 50+ years, expensive
-
Galvanized Steel: Budget-friendly, may rust, 15–25 years
-
Lead: Malleable, long-lasting, being phased out
-
Stainless Steel: Durable, rust-proof, modern choice
Common Causes of Chimney Flashing Failure
A. Age and Weather Deterioration
UV exposure, thermal expansion, freeze-thaw cycles, and high winds weaken flashing over time. Lifespan ranges from 15–30 years depending on material.
B. Rust and Corrosion
Galvanized steel is most susceptible. Exposed edges corrode first, especially in regions with acid rain. Visible rust requires immediate attention.
C. Poor Installation
Improper embedding in mortar, insufficient overlap, wrong sealants, or undersized flashing cause premature failures. Installation errors are the top cause of early flashing problems.
D. Damaged Mortar Joints
Counter flashing is embedded in mortar, which deteriorates over time, creating gaps for water. Repointing or tuckpointing may be necessary.
E. Chimney Settlement
Over time, chimneys and houses settle differently, stressing flashing connections and potentially causing tears or separation.
F. Storm Damage
High winds, hail, falling branches, and ice dams can damage flashing. Always inspect after severe weather.
G. Roof Work or Repairs
Roof contractors may damage flashing during replacement or repairs if not careful.
H. Animal Damage
Raccoons, squirrels, birds, and woodpeckers can loosen or damage flashing, creating water entry points.
Signs Your Chimney Flashing Needs Repair
A. Interior Warning Signs
-
Water stains near chimney
-
Damp spots on adjacent walls
-
Musty odors
-
Peeling paint or wallpaper
-
Water dripping after rain
-
Mold or mildew growth
-
Rust stains inside firebox
B. Exterior Warning Signs
-
Rust or corrosion on flashing
-
Visible gaps or pulling away
-
Bent, dented, or missing flashing
-
Deteriorated mortar joints
-
Improper overlap or missing sealant
C. Attic Inspection Signs
-
Water stains on rafters
-
Daylight around chimney penetration
-
Wet insulation or mold
-
Rotted roof decking
-
Water tracks leading from chimney
D. When to Inspect
-
Annually, before winter
-
After storms or hail
-
When buying/selling home
-
After roof replacement
-
Every 5 years by a professional
Assessing the Damage: Repair vs. Replacement
Minor Repairs: Resealing, caulking, minor rust spots, small gaps.
Moderate Repairs: Multiple loose sections, moderate rust, partial flashing replacement.
Full Replacement: Extensive corrosion, holes, flashing pulled away, multiple failed repairs.
Emergency Situations: Active leaks, structural damage, missing flashing sections. Temporary tarping until professional repair is critical.
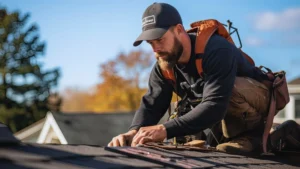
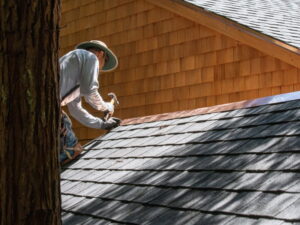
DIY vs. Professional Repair
A. When DIY Might Be Appropriate
-
Minor resealing or gap filling
-
Single-story, accessible roof
-
Proper safety equipment
-
Understanding of flashing system
B. Why Professional Repair is Usually Recommended
-
Roof safety concerns
-
Complexity of two-part system
-
Specialized tools and materials
-
Code compliance and warranty protection
C. Finding a Qualified Professional
-
Certified chimney sweep, mason, or roofing contractor
-
Licensed and insured
-
References and multiple estimates
-
Certifications: CSIA, NCSG
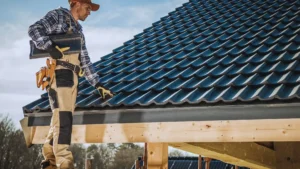
Professional Chimney Flashing Repair Process
-
Inspection and Assessment: Identify damage, photograph, estimate.
-
Preparation and Safety: Scaffold, harness, tarp, tools ready.
-
Remove Old Flashing: Extract shingles, counter flashing, step flashing, old sealant.
-
Install Base/Step Flashing: Ice/water shield, overlapping steps integrated with shingles.
-
Install Counter Flashing: Hemmed edges, embedded in mortar, overlap step flashing.
-
Sealing and Finishing: Polyurethane or tripolymer sealant at corners, edges, penetrations.
-
Final Inspection and Testing: Visual check, water test, clean-up, warranty documentation.
Materials and Tools for Chimney Flashing Repair
Materials: Aluminum, copper, or steel flashing, ice/water shield, sealant, mortar, roofing nails.
Tools: Tin snips, hammer, pry bar, trowels, caulking gun, grinder, measuring tape, chalk line, wire brush.
Safety: Harness, ladder, roof brackets, non-slip boots, gloves, hard hat.
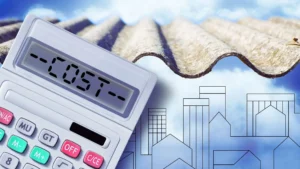
Cost of Chimney Flashing Repair
A. DIY Material Costs
$330–$975 depending on materials, tools, and safety equipment. Not recommended for most homeowners.
B. Professional Repair Costs
-
Minor: $150–$800
-
Moderate: $600–$1,500
-
Full replacement: $800–$3,000+ (copper: $2,000–$5,000+)
C. Cost Factors
Chimney size, roof pitch, material, damage extent, location, and contractor experience.
D. Cost of NOT Repairing
Water damage to roof deck, attic, chimney masonry, mold, structural repairs can total $2,000–$10,000+.
Temporary Emergency Fixes
-
Heavy-Duty Tarp: Cover chimney, secure edges, monitor regularly.
-
Temporary Sealant: Roofing cement and mesh tape, temporary solution.
-
Flex Seal Products: Spray or liquid rubber for very small gaps.
Warning: Temporary fixes are short-term; professional repair needed ASAP.
Preventing Future Flashing Problems
-
Annual inspection, professional every 3–5 years
-
Clean gutters, trim trees, maintain chimney crown
-
Repoint mortar joints, apply waterproofing sealant
-
Quality installation and premium materials
-
Keep documentation of all repairs
Related Chimney Components to Check
-
Chimney cap/crown
-
Crown seal
-
Mortar joints (tuckpointing)
-
Chimney liner
-
Ventilation and condensation issues
Common Mistakes to Avoid
-
Using silicone on masonry
-
Improper embedding of counter flashing
-
Insufficient overlap or wrong metal
-
Underestimating complexity, poor safety
-
Attempting repair during bad weather
Conclusion
Chimney flashing is a critical waterproofing component that protects your home from costly water damage. Regular inspection, quality materials, and professional repair ensure lasting protection. Small issues caught early prevent major repairs. Investing in proper chimney flashing repair now saves thousands in future damage. If you notice any warning signs, schedule a professional inspection today to protect your roof and home.
Follow us on Facebook.
FAQs
-
How long does chimney flashing last?
Properly installed flashing lasts 15–30 years; copper 50+, galvanized steel less in harsh climates. -
Can I just caulk my leaking chimney flashing?
Caulking is temporary. Loose or damaged flashing needs proper repair or replacement. -
Should flashing be replaced when getting a new roof?
Yes, it’s cost-effective to replace flashing during roof replacement. -
What’s the best flashing material?
Copper for longevity, aluminum for value, stainless steel for durability. Choice depends on budget and climate. -
Is chimney flashing covered by homeowners insurance?
Only for covered perils like storms. Wear and tear usually not covered.